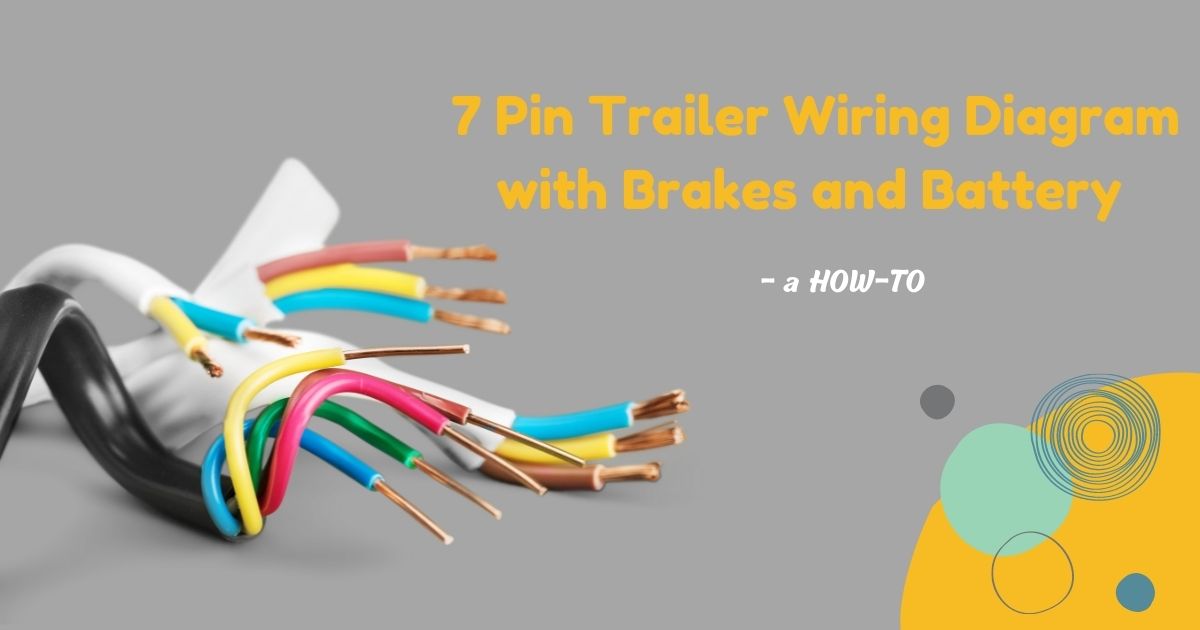
Whether your truck or RV uses a 6-way, 5-way, or 4-way harness, trailer lighting must be connected to the wiring system. In this case, you’ll need a 7-pin trailer wiring diagram with brakes and battery to complete the process.
As a rule of thumb, trailer lightening should be connected to the tow vehicle wiring system to turn or indicate signals, prevent shorts, light breaks, and even run lights. A 7-pin connector facilitates the transfer of power for lighting the trailer.
The most common harness found on trailers also provides three additional pins for a 12V hot lead, reverse lights, and electric brakes. While wiring can be a pain in the neck, putting the system together is possible. But the truth is that you don’t need to be an expert to fix it. A little knowledge here and there can help you out.
With that in mind, here’s everything you need to know about the wiring process for a 7-pin trailer. Moreover, you’ll be able to detect any issue, fix and get your trailer running.
But before we drive into the step-by-step guide, we’ll first get to know if the 7-way trailer wiring will give you a hard time. This act will judge if you’ll have a smooth time or not during the whole process.
Is 7-Way Trailer Wiring Difficult?
A 7-way trailer wiring is essential since it helps in providing power for lightning. However, wiring the system is not difficult. The 7-pin trailer wiring diagram with brakes and battery is useful while connecting it to different parts. The diagram contains connectors with different colors to help you hit the right spot.
Additionally, when the trailer is connected to a vehicle, a 7-pole connector will not power all the circuits connected. Also, you can directly connect the 7-way from the socket to the tail lamp and access the short from the ground easily.
Ensure that the connector is replaced with a good wired 7-pole connector for better results. If you are using it for a short time, worry not! Connecting will be easier since adapters will perform the same function as wiring but at an expense.
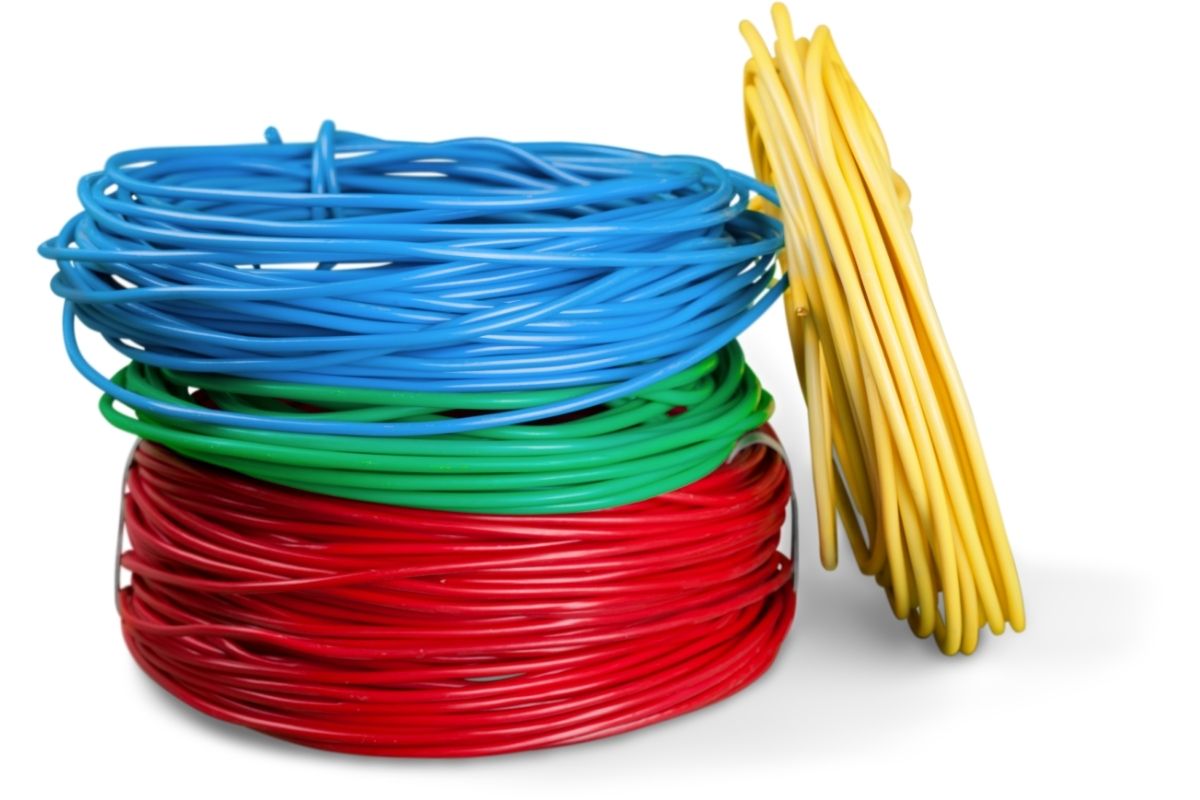
So, before getting to know the size gauges of a 7-way trailer, we’ll first walk you through the different color codes of a 7-way trailer wiring. These colors will make your work easier, as you will be conversant with each part and function.
What are the Trailer Wire Colors for 7-Way Trailer Wiring?
7-way trailer wiring diagram has different colors to help you identify each part effectively. Furthermore, the colors help in easy signal indication and are easy during the wiring process. On top of that, the color code for wiring harnesses varies between industries.
In this case, SAE (Society of Automotive Engineers) standard wiring differs from the RV industry’s standard wiring. To make things easier, check out this breakdown:
(Society of Automotive Engineers) SAE Standard
- Green: Right turn/ Stop brake light
- Yellow: Left turn/ Stop brake light
- Blue: Output for controlling brakes
- Brown: Tail/running lights
- White: Ground wire
- Purple: Reverse lights
- Black: Battery hot lead
RV Standard
- Green: Tail/running light
- Yellow: Reverse light
- White: Ground wire.
- Brown: Right turn/stop brake light.
- Blue: Brake controller output
- Red: Left turn/stop brake light
- Black: Battery hot lead
7-Way Trailer Wiring Color Code (Traditional SAE)
| COLOR | FUNCTION | SUGGESTED MIN. WIRE GAUGE | WHERE TO ATTACH (Vehicle Side) | WHERE TO ATTACH(Trailer Side) |
| Green | Turn Right//Brake Light | 16 | Turn right-vehicle wiring harness | Signal of Trailers Right Turn |
| Yellow | Turn left/Brake Light | 16 | Turn Left-Vehicle wiring harness | Left turn signal for trailer |
| Brown | Running/Backlights | 16 | Back Light-Vehicles Wiring Harness | Trailers Backlights |
| Blue | Power Brake | 12 | Electric Brake Control Power Output | Trailers Breaks |
| Black/Red | Battery Hot Lead | 12 | Fused battery lead | Battery charger, break-away kit interior lights |
| White | Ground | 12 | Uncoated-metal vehicle spot | Uncoated metal-vehicle ground spot |
| Purple | Reverse lights | 16 | Vehicle wiring harness- backup circuit | Backup lights |
7-Way Trailer Wiring Color Code (RV Standard)
| COLOR | FUNCTION | SUGGESTED MIN. WIRE GAUGE | WHERE TO ATTACH (Vehicle Side) | WHERE TO ATTACH(Trailer Side) |
| Green | Turn Right//Brake Light | 16 | Turn right-vehicle wiring harness | Signal of Trailers Right Turn |
| Yellow | Reverse light | 16 | Turn Left-Vehicle wiring harness | Left turn signal for trailer |
| Brown | Stop/Turn right | 16 | Back/Tail Light-Vehicles Wiring Harness | Trailers Tail/Backlights |
| Blue | Power Brake | 12 | Electric Brake Control Power Output | Trailers Breaks |
| Black/Red | Battery Hot Lead | 16 | Fused battery lead | Battery charger, break-away kit interior lights |
| White | Ground | 12 | Uncoated-metal vehicle spot | Uncoated metal-vehicle ground spot |
| Purple | Reverse lights | 16 | Vehicle wiring harness- backup circuit | Back-up lights |
With these many colors and wires, where do you start? Here is a little information about the 7-pin connector to make sure you get it right.
White Wire
The White Wire is the “Ground” or “Negative” wire. It plays a vital role since it connects to the vehicle battery and goes to the lights and brakes. However, some trailer builders connect this wire to the frame, then the ground from other lights and accessories.
While this might be an easier method to employ, the ground part of the circuit is often the root of trailer electrical problems. To avoid these problems, run the white wire with all the others and connect the ground from each light.
The white wire should be as big as the largest wire in the harness in terms of size. If you only have lights in the circuit, and the lights are LED (low power), then a tiny white wire is essential. However, if you have electric brakes or auxiliary power, you might require a large size.
Brown Wire
The second necessary wire is the brown wire. This wire goes to the lights that are always ON as you move. They are also known as the running lights, part of the taillights, side markers, and corner markers.
In terms of size, you need to provide according to the power requirements. This is because the brown wire only feeds power to lights. If you are using a utility trailer, be sure not to use much power. Therefore, you will need a smaller size but opt for a larger size if the trailer is large with many running lights.
Blue Wire
Blue represents brakes, but some trailers with surge hydraulic brakes use this pin to disable the brakes when the vehicle reverses. While doing this, connect the blue wire to the reverse lights on the vehicle side.
On the vehicle side, the blue wire goes to the brake controller. In terms of size, don’t allocate any, if it is a single axle, choose a 24 gauge and if it is a tandem axle, choose a 12 gauge.
Red Wire
The pin for auxiliary power is usually with a red wire, but sometimes it uses the color black. This wire connects to the tow vehicle’s positive DC power. The auxiliary power charges the breakaway battery, RV batteries, interior lights, and power for accessories.
Use a wire size appropriate for the power demands. If you are changing the breakaway battery, then 16 gauge will do you good. If you’re powering up more batteries or lights in the trailer, use a 14 or a 12 gauge. Remember not to overload this wire as it will bring other issues.
What Size Gauge Wire is Used for a 7-Way Harness?
The gauge of a trailer wire solely depends on the type of trailer and the application to wire the trailer. For example, if you own a 7-way harness, the gauge wire should be 16 gauge for the trailer for running light wires, brake lights, turn signals and reverse lights.
By this, it specifically means that it represents brown (tail lights), green (brake/right turn), yellow (left turn/brake), and purple (reverse light). Furthermore, a 12 gauge is the minimum size for the ground, battery hot lead wires, and power brake.
Since there are different gauge wire sizes, a 12-gauge is best for a seven-way because it works perfectly in power, ground, and brake power.
7-Way Trailer Wiring Color Code (Traditional SAE)
| COLOR | FUNCTION | SUGGESTED MIN. WIRE GAUGE | WHERE TO ATTACH (Vehicle Side) | WHERE TO ATTACH(Trailer Side) |
| Green | Turn Right//Brake Light | 16 | Turn right-vehicle wiring harness | Signal of Trailers Right Turn |
| Yellow | Turn left/Brake Light | 16 | Turn Left-Vehicle wiring harness | Left turn signal for trailer |
| Brown | Running/Backlights | 16 | Back Light-Vehicles Wiring Harness | Trailers Back Lights |
| Blue | Power Brake | 12 | Electric Brake Control Power Output | Trailers Breaks |
| Black/Red | Battery Hot Lead | 12 | Fused battery lead | Battery charger, break-away kit interior lights |
| White | Ground | 12 | Uncoated-metal vehicle spot | Uncoated metal-vehicle ground spot |
| Purple | Reverse lights | 16 | Vehicle wiring harness-back up circuit | Backup lights |
7-Way Trailer Wiring Color Code (RV Standard)
| COLOR | FUNCTION | SUGGESTED MIN. WIRE GAUGE | WHERE TO ATTACH (Vehicle Side) | WHERE TO ATTACH(Trailer Side) |
| Green | Turn Right//Brake light | 16 | Turn right-vehicle wiring harness | Signal of Trailers Right Turn |
| Yellow | Reverse light | 16 | Turn Left-Vehicle wiring harness | Left turn signal for trailer |
| Brown | Stop/Turn right | 16 | Back/Tail Light-Vehicles Wiring Harness | Trailers Tail/Backlights |
| Blue | Power brake | 12 | Electric Brake Control Power Output | Trailers brakes |
| Black/Red | Battery Hot Lead | 16 | Fused battery lead | Battery charger, break-away kit interior lights |
| White | Ground | 12 | Uncoated-metal vehicle spot | Uncoated metal-vehicle ground spot |
| Purple | Reverse lights | 16 | Vehicle wiring harness- backup circuit | Backup lights |
Your 7-Pin Trailer Wiring Diagram With Brakes and Battery Step-by-Step Guide
Now that you know the colors and size gauge wire used in a 7-way connector, why not check out a step-by-step guide on wiring your trailer with a 7-way connector. Here, we will look at the trailers’ side and vehicle side.
Trailer Side
Step 1: Prepare for Trailer Wiring Installation
This is the very first step to conducting trailer wiring installation. It cannot be possible without the following handy tools. Such tools are:
- A brake-away controller
- A junction box
- A breakaway kit
Brake Controller
The brake-away is attached to the trailer’s brake system and then connects to the back of the tow vehicle. The brake-away controller is responsible for applying brake lights and trailer brakes if the trailer brakes.
When the trailer is disconnected from the tow vehicle, the break-away controller automatically brings the trailer to a safe stop by activating the electric brakes.
This system exhibits an inbuilt battery charged from the battery charger or the auxiliary line. It is mounted on the driver’s side dashboard area and includes an electric braking system at either time displayed.
Junction Box
A junction box is an enclosure housing electrical connections and for organizing wiring. The junction box protects the connections from danger such as harsh weather and protects people from socks. Since two or more wires are joined, links are maintained.
As a result, it reduces cases of fire since accidental contact with live wires is minimal. It will depend if you have an existing junction box, a new junction or if you don’t own one. If you have an existing junction box, try to look for it at the front. After locating the box, remove the cover and nuts from the terminal.
If it is a new junction box, look for the best location to install it. Ensure that the box is near to get into contact with the wire. While doing this, make sure it is away from any part that will hinder the process.
If you find yourself with no junction box, don’t fret! Just tie the old wiring with the new one, and you’ll be good to go.
Break-Away Kit:
A breakaway system brings the trailer into a safe stop when the trailer is disconnected. For this reason, the trailer wiring kit is designed to apply electric brakes when the trailer detaches from the tow vehicle on transit. For instance, you might need to replace old trailer lights with new ones.
Step 2: Install Junction Box
When installing the junction box, your trailer might have it inside, replacing a new one, or just working without one. If it is an existing junction box, look for it, then remove the nuts and the cover in the terminals.
If you replace it with a new one, find the best spot. Furthermore, the box should not be far from the wires but far from tools it might collide with. If you don’t want to use a junction box or lack one, tie the new harness with the existing one in the trailer.
Step 3: Make Trailer Connections
After installing the junction box, make trailer connections. It is possible to make a trailer connection, with and without the junction box. If you own a junction box, go ahead and add a new 7-pin trailer connector, then remove the nuts from each box.
If it’s a replacement, remove the old wire by removing the boxes’ terminal. Also, remove extra cables from the cable and strip the wires responsible for insulation. The next thing is to put ring terminals in the updated wiring system. After that, put the terminals on the matching stud’s junction box, then re-install the nuts. Lastly, use a wire clip to secure any extra wire.
If you lack or prefer not to use the junction box, but you are connecting a new 7-way to the old wiring, take a heat gun and built connectors to aid in proper connection. Again, watch for any excess wire and secure with wire clips.
Vehicle Side
Now that our trailer is ready to hit the road, why not wire the vehicle? But how do you do that? Check out these potential tips.
Step 1: Prepare for Wiring Installation
Preparing for your vehicle’s wiring installation will include either a 7-way connector or a 4-way connector or no connector.
A 7-WAY CONNECTOR
If your vehicle has a 7-way connector, you are good to go! The first step is to plug the vehicle-end connector with the trailer end connector and move.
A 4-WAY CONNECTOR
If your vehicle has a 4-way connector, you’ll need to include an adapter kit because it contains every tool needed to convert a 4-way into a 7-way. Before starting the connection process, check your vehicle wires with a circuit tester. This will enable you to see if things are functioning well. While testing, make sure there’s a back signal to ensure that you are testing the correct wire.
NO CONNECTOR
When you find yourself with no connector or just prefer working without one, installing a 4-way using an adapter is the trick. This way, you will achieve to install a 7-way plug. While this process is effective, some people find it difficult.
Take a humble time to inspect and approve if the wires are functioning well, as it works best if you are clamping or spicing the wires. Another essential thing to do is to use a circuit tester to confirm the functioning of the wires. After that, activate each function and check for a signal using a tester.
Step 2: Connect Ground to Vehicle Frame
We now have to connect the ground on the vehicle side, as we did on the trailer. Attach the white ground wire to a clean, bare metal surface on the vehicle frame. Apply some dielectric grease to help prevent corrosion.
Step 3: Make Vehicle Connections
After all that preparation, why not make connections? The connection will involve three methods; because the wiring harness will either plug into, spice into, or clamp onto your vehicle’s existing lighting.
These methods all depend on your vehicle’s model. So, let’s explore the three methods.
4-WAY TO 7-WAY ADAPTERS
An adapter is essential since it will plug into your existing 4-way plug. On top of that, an adapter will save you from splicing into the vehicle’s wiring system. You’ll get two more pins for your trailer brakes and battery lead.
Once you plug the adapter into your existing 4-way, you will have three additional wires that you must connect. One of these wires (blue or black) will connect to the electric brake control power output.
The red or black wire will connect to the battery’s positive terminal through the connector or extra wire. Before connecting, remember to use a tester to test if the wire is functioning well.
SPLICE-IN STYLE
The first method is spice-in-style. Splicing is not hard, as it does not involve a lot of processes. This method is further divided into three styles. The styles can be used after confirming that your wires are functioning well. After that, connect with a splice in style.
Soldering
If you are looking for the best and easiest way to connect wires, why not solder? Soldiering involves putting the wires together using a solder gun. Moreover, you can use heat shrink tubing to secure the soldered protection.
Quick Splices
Another quick and easy way to connect wires is quick spicing. Here, the spices force the metal into two separate cables and connect the circuit.
Butt Connectors
If you don’t prefer soldering or quick spices, opt for butt connectors. A butt connector joins one or two wires to two different wires.
PLUG-IN STYLE
The plug-in style is the most efficient method since it is all about plugging in. However, the most outstanding feature is that it does not involve splicing or cutting. This is essential for vehicles that are pre-wired. This way, wires are easily accessible, and all you’ll need is to plug in the existing wiring.
The plug-in location is typically near the taillights, underneath the vehicle, or behind the paneling in the back area. Remove the trim access cover, scuff panels, and tail lights to access the plug.
Clamp-On Style
This is where a harness clamps onto your vehicle’s wiring without causing feedback, interference, or power draw from your vehicle’s wiring system. Clamp the harness’s sensors to the appropriate vehicle wires, then run the hot lead to your vehicle’s battery to provide the necessary power since the harness does not draw from the wiring itself.
Mounting Your Trailer Wiring Harness
Mounting your 7-pole trailer connector is vital since 4-poles remain in the cargo area when not in use. This act is essential since you’ll be able to protect the connector from harmful items or accidental damage. In the end, you will get to extend the connector’s life.
Furthermore, you might need it for towing, and what you need to do is pull out the connector and shut the trunk. While doing this, the rubber weather strip will prevent the wire from getting pinched.
If the trailer connector needs under vehicle mounting, use the proper mounting vehicle to safeguard the connector and prevent dangling.
The Need for Trailer Wiring
What will you gain now that you know how to wire your trailer? Check out these benefits:
Safety
When driving down the highway, you might experience issues such production of insufficient light. This is a severe problem because insufficient light can block your way and cause accidents. Moreover, others will not know your exact movement on the road.
As a result, you’ll need to conduct proper trailer light wiring. A functioning light will ensure your safety since you will have a clear view of your movements and other drivers and pedestrians. Always check on your wiring to ensure everything is safe and secured.
Displays a Signal While Reversing
Towing, trailer wiring is necessary because the necessary connectors help to power reverse lights. These lights are essential since they indicate signals. In this case, reversing is a must, especially when reversing to park or move backward.
Supports the Braking System
The trailer brake system uses the weight and momentum of the trailer to control the brakes. It gets a certain amount of power from the tow vehicle through the brake controller; Wiring facilitates braking power by setting. If power is not sent to the trailer brakes, then be sure to check on wiring.
Provides Routing Direction
With the help of a trailer wiring diagram, you will get the right routing direction. What you need to do is to start at the tongue of the connector, then around the trailer. Wrapping around it enables equal distribution of power as it moves.
Also, wires are kept together as they transverse around the tongue. Since the amounts of cables can be recognized, they’ll get protected. Alternatively, you can split the wires near the tongue and then route down the right and left sides.
With all the benefits, what are the trailer wiring problems that might occur while on the road?
Trailer Wiring Problems
Dim Light
The first issue that you might detect is dim light. Dim light is not good while driving because it can cause accidents. Another thing about light is that switching light causes the others to turn on. This is because the lights remain on even when the ignition is turned off.
To solve this problem, use sealed LED lights. Trailers get wet during the rainy season or when washing them. These will get protected since they are water-resistant.
Lousy Light Ground Wire
Another problem is a lousy light ground wire. The problem might If you notice your lights flashing on and off, with turn signal and tail lights on, then this should be a call for concern since the ground might be bad.
Burnt Bulb
Apart from the lousy light ground wire problem, the bulb might get burnt, thus needing replacement. The bulb is a crucial feature because it is responsible for setting up the light system. If you notice a burnt bulb, replace it immediately. To replace the bulb, follow these steps:
- First, check if the bulbs are burnt.
- Next, test the trailer’s circuit before getting a new bulb.
- Disconnect power to the lights by separating the trailer’s converter plug from the vehicle and disconnecting the power.
- Take the bulb to an auto shop to find a replacement without struggle.
- Plug the new bulb in the light socket. If the light works, remove the plug and attach the light plate.
Broken Wires
Broken wires during trailer wiring are another common issue. The wires sometimes get broken and need to be fixed or replaced with new ones. Before replacing, check where copper is visible and see if it can be fixed.
Corrosion
Wires are important in a trailer. It’s what makes the whole connection complete. When it erodes, parts may not function properly, thus the need for cleaning.
These issues are crucial and might hinder the operation of the truck. These problems might be due to the following;
- There is a loose or weak ground connection or an overloaded harness due to short wiring.
- The harness wire is not connected, the fuse blew, poor connection in a set of connectors or an infused ground.
- The harness has poor ground on the trailer.
- The trailer has LED lights powered by a 4-way plug.
- Inadequate ground when the trailer connects to the vehicle.
- Trailers reverse lights are not functioning well.
- The harness functions until you connect the trailer.
- Trailer lights remain on even when the ignition is turned off.
- The trailer stops functioning upon turning the vehicle’s headlight.
- Lights previously worked but have stopped functioning.
- One part of the trailer lights are not working, such as the brake lights.
- All the light functions are not working.
- Both sides of the trailer turn on upon putting on the signal.
These issues might occur due to the following faults. So, take a look to find if it corresponds with the complication:
- Insufficient ground.
- Too many lights on the side of the trailer; thus, an overloaded harness.
- The brake wire on the harness lack grounding.
- Loose ground connection.
- The 12v power wire is not properly connected to the battery, or the harness is not properly connected to the ground.
Well, you can fix all these issues with the following tools;
Tools to Fix the Problem
- Wiring kit
- Wire stripper
- Wire fastener
- Screwdriver
- Circuit tester
- Nut driver
- Power drill
- Light bulbs
- Electrical tape
- Jumper wire
- Dowel
- Electrical contact cleaner
- Extra wire
- Continuity tester
- 12V batter
Trouble Shooting Trailer Wiring Issues
By now, you are familiar with the problems of trailer wiring and the tools used to fix the problems. Moreover, you rely on your trailer to conduct daily activities such as transporting construction items or landscaping. But how can you diagnose and troubleshoot wiring issues?
Here is how to;
Inspect the Vehicle and the Trailer
To pinpoint the root cause, the first thing to do is conduct a thorough inspection. This act involves checking the bulb to see if they are burnt but if they are not burnt or damaged, test the vehicle and the trailer separately to eliminate minor issues.
Testing separately is essential because you will know if there is an issue with the trailer or vehicle; as you are dealing with individual wiring systems. Here, check the lights, for example, the vehicle (turn signals, brake lights, and backup lights); if there’s no problem, check the socket and use a wiring tester compatible with the connector.
Clean dirt or debris from the trailer’s connector and the vehicle’s connector. Put the tester in the socket. To make sure it fits well, use an attachment. The indicator will decide if the current reaches each cable or not; if there’s enough electricity in each wire, check any issue in the trailer cable system. If it does not show power, then check the tow vehicle.
On the flip side, if the tester senses electricity when it shouldn’t, there’s a short in the vehicle. You need to check the wiring diagram to see if the wire is in contact. If you get faulty signals, this might be due to wrong connection points. Review the diagram, identify the right points, and troubleshoot the problem if this is the case.
If you test when the vehicle and trailer are attached, you will get confused because the root cause of the problem will be unclear.
Test for Proper Functions
The second step is to test the functioning. This act will depend on whether you have a 4-way plug or a 7-way at hand. If it is a 4-way plug, use a 12v circuit tester to check if the vehicle lights are working correctly. For better results, find help from anybody and ask them to insert different lights while you are checking at the back.
One important thing to do before testing is to remove the fuse on the power for some minutes, then reinstall. Next, test the wiring that heads to the converter box if the right power reading is not visible in the light functions. Then, again, if the light wiring is okay and intact, examine the whole trailer wiring system.
The next step is to go behind the converter box and analyze if the signals come in from the truck. A color should indicate. If any of the light signals have less power, check on.
- Loose wires, relays on a plug-in harness, or missing fuse.
- Wires that are connected in the wrong spot of the truck
- Loose or weak ground connections
Confirm the Right Wire Connections
You have already tested the proper functions, so what next? First, confirm if each wire is connected in the right spot. This applies to a hardwire installation. If your system has variations, check the connections according to their function.
- If it is a plug-in installation, adhere to the following;
- Inspect the connectors to check if there are loose pins, broken locking tabs, or loose wires
- Check if the connectors are together. You can effectively do this by removing and reconnecting
- Ensure that the harness connectors are on the right side of the vehicle
- Check if the truck’s model and year of manufacturing corresponds with the part number
- Ensure the vehicle has a tow package if you are dealing with a factory tow package harness
- Check for blown fuses but ensure that you have secured the connection between the vehicle’s battery and the 12v power wire.
Inspect Ground Connections
One of the most common problems in trailer wiring is grounding. To inspect the ground connection, the first thing to do is to check if there is corrosion or paint buildup. If you find any of this, clean the area thoroughly until you see a clean metal surface. You will notice that you have cleaned enough to replace any ground screw with rust.
Ensure the ground wire is connected to the trailer’s frame when it comes to the trailer. For example, if it has a tongue fold, ensure that the connection is made behind the tongue. If it is on an aluminum surface, shift the ground wire to the frame.
Also, check if it does not share wires on a screw. If so, transfer to a different screw. Still in-ground, check if the trailer and vehicle plug have corrosion. This can easily be identified by a speck of greenish or whitish dust on the metal surface. You can clean or replace the corroded wire using a battery terminal or brush.
Check if there’s an Overload.
When a circuit receives excess electric current, then it can withstand. That is an overload. An overload can cause melting or overheating. Use a circuit tester to check if the 7-way plug function, but not to plug in the trailer before testing.
You may notice a short in the trailer after resetting in each function. If the lights take in more amperage than the harness can handle, remove the bulbs from the additional clearance light, then connect the trailer.
Remove the lights and replace them with LED versions of the harness works without any bulb or portray an overdraw from the number of lights on the trailer. This will help to draw less power.
The Finished Product
Trailers are the most powerful and functional vehicles to own. The unpowered detachable vehicles are essential in transporting different items. Since they come in different models, sizes, and designs, the versatile trucks contain 7-way pins responsible for the connection.
These connections are responsible for the need for the 7pin trailer diagram above. Considering the importance of lights in a trailer, check lights regularly for your safety.
Now that you have the whole system fixed, why don’t you plug the two ends and test if the wires are functioning correctly? If each part signals and lights up, then your trailer is in great shape and ready to move.