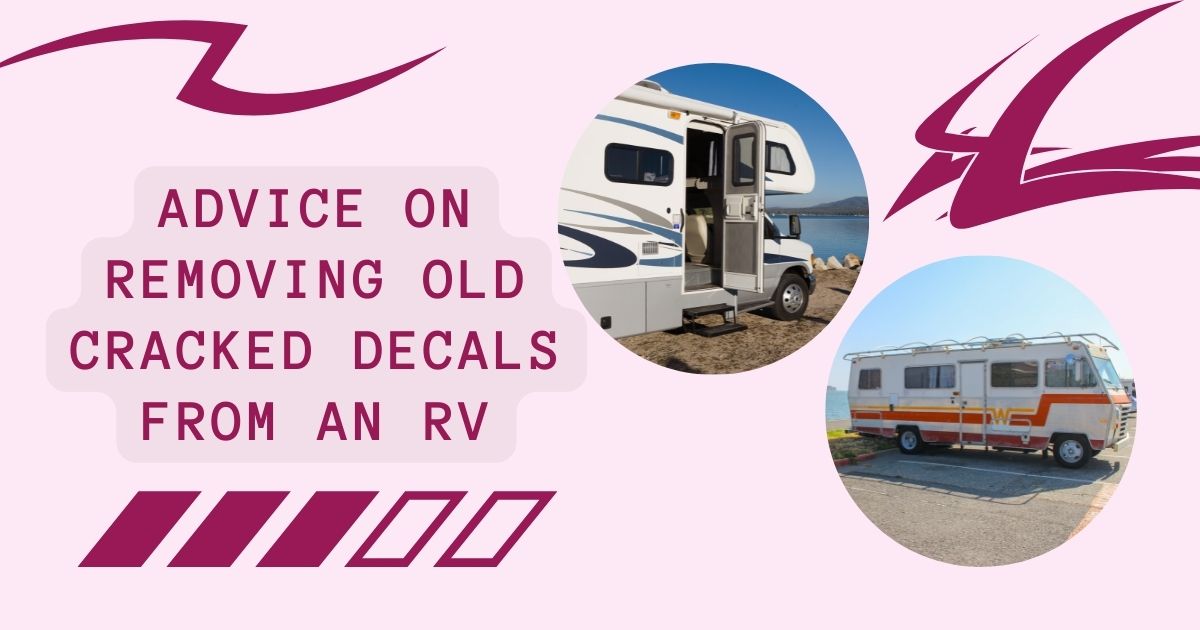
What are RV Decals
RV decals are graphic stickers designed to bring a brighter and more attractive look to the surface sections of an RV. Removing old cracked decals from RV brings back a good surface look and paves room for new decals of new designs. RV decals may come in several forms, and some may be like stickers, while others are in one whole single piece.

Removing Old Cracked Decals From an RV
The trailer decal removal process may be complex without following the necessary steps. There are a few things to consider looking at and following to achieve a successful RV decal removal process.
When thinking of how to remove decals from RV, you should know that there are two main methods that you may choose to follow. Below are the two main methods:
- Using heat
- Using an RV decal remover tool
Removing RV Decals Using Heat
To properly remove decals from RV by the use of heat, you need to have the tools below:
- Hair dryer or a heat gun
- A rapid adhesive RV decal remover
- Plastic razor blades
After acquiring the tools above, you need to follow the steps down below:
- Get the Decals Hot
You can get your RV hot by parking it in the sun. Parking in the sun may help the trailer decal removal process since the decals will be completely warm. You may also substitute the sun by using a heat gun. You need to place the RV at the lowest setting when using a heat gun.
Hold the heat gun or hair dryer about one inch away. Wave the heat in a forth and back manner. You need to ensure that the heat gets on a little section above the decal because the loose vinyl decals don’t require a lot of heat for complete removal.
- Peel the RV Decals
The second thing to do regarding how to remove decals from the camper is to peel the decals. Once you notice that the edges of the decals are completely hot, you may now begin spraying these edges using a plastic razor blade. You need to make sure that you pull the edges properly before starting the lifting process. Use your fingers to lift the decals off the RV surface naturally.
Always keep waving the heat gun on the decals as you pull it in very slow motions. The continuous wave of heat as the decal comes off aids a lot in preventing any cracking while the pilling process keeps taking place. Remember to reduce the heat in the heat gun or the hair dryer if you notice the decal melting.
Melting the decal during the trailer decal removal process means you may be subjecting more than enough heat to the surface. You may also consider completely turning off the heat if you notice the melting process.
- Remove the Residual Adhesive
After successfully removing old cracked decals from RV, you may notice a sticky residue on the surface remaining behind. This residue does not give your RV a good look, and you need to remove it. You may remove this residue from the surface by spraying the adhesive remover spray.
Spray on the surface, covering the entire surface, and let it stay there for a short time. Use a plastic razor blade to remove the residue from the surface finally. You must ensure that a good amount of the remaining glue is off the RV surface. Removing all the remaining glue means that you need to repeat the step above several times until the surface is perfect.
The final action to take in this step of how to remove old decals from RV is to spray the whole section with a rapid remover. Only use this RV decal remover after most of the glue is off the surface. After applying this spray, use a paper towel to wipe out any remaining residue. A wet rug may also work well in place of a paper towel.
- Repeat
To completely remove decals from the RV surface, you need to go again and again with the process above. Ensure you do not forget to remove decals high above the RVs surface. You may reach such decals by climbing up using a telescopic ladder.
Removing RV Decals Using a Specialty Tool
Using the heat method to remove decals from RV works fine, but you may also opt for specialty tools. Getting the job done using specialty tools means a little less work than the use of heat. One primary specialty tool for decal removal is the Vinyl Decal Remover Wheel.
This equipment, in the form of a wheel, fits on every standard household drill properly. To correctly remove decals from RV using this tool, you still need a few pieces of equipment. Below are the main types of equipment to use in the trailer decal removal process using a wheel vinyl decal remover:
- A household drill
- Plastic razor blades
- Rapid remover adhesive remover
After making sure that you have all the equipment above, you need to follow the steps below to remove decals from RV with a vinyl decal remover wheel successfully:
- Set up the Wheel
Before attaching the wheel to your household drill, ensure you read the package instructions carefully. After reading, ensure you set the drill to the required setting. It is ideal to use cordless drills to move around the RV slightly more easily.
- Remove the Decals
You now need to hold the drill sideways while ensuring that the edges of the decals are fully against the wheel. Switch on the wheel and move the wheel in a round motion and sideways all around the decals. After performing this step correctly, you can quickly notice the decals wearing off the RV surface.
Sometimes, the decals may not come off the surface immediately. If you encounter this problem, you need to increase the power of your drill to a higher voltage setting.
- Remove the Adhesive
After you successfully remove decals from the RV surface, you now need to remove the remaining decal glue from the RV surface. Spray the surface all around to begin the process of removing the glue. The rapid remover adhesive weakens this glue and makes it simple for the final process.
After spraying the surface well, use the plastic razor blade for scratching out all the remaining glue. You may also use a rag to wipe out any remaining adhesive on the surface.
How to Restore a Cracked or Faded RV Decal
You may bring back the look of your RV by replacing the graphics. To get back the last beautiful natural look of your RV in terms of RV decal repair, you need to choose either of the procedures below:
- Paint your RV
- Get new graphics
- Wrap your RV
Paint Your RV
Choosing to paint your RV is a suitable method of restoring the natural look of your RV. However, choosing to paint means paying a lot more since it is the most expensive method. The expense comes with another advantage since this solution will also last longer.
If your RV has a more complicated design, it may cost even more to paint. When hiring someone to paint for your RV, remember that it is super important to ask for their past clients.
Asking about the previous clients assures you of the best final results. You would not want to risk losing money to a painter giving out substandard services. You should never let anyone paint your RV for the first time in their RV painting career.
Get New Graphics
Choosing to go for new graphics is the most cost-effective method of RV decal repair among all other available methods. All you need to do is remove the old vinyl graphic decals and install new ones.
The process of removing and installing is also simple compared to painting. Another advantage is that this process takes a much shorter period, thus saving time and giving more room for trips and camping just in case.
You must conduct proper research to ensure you get the right vinyl decal for your RV. The first place to ask is your RV manufacturer. Occasionally, your RV may lack the specific vinyl decal you need. You may consider checking the internet if the RV company lacks this product.
The internet is the best place to find all kinds of RV vinyl decals for RV decal repair. Some sites sell decals from major RV manufacturers, making your search simpler. You may also personalize your RVs decals to your preference by selecting specific brands from the web.
In case you get unlucky finding an RV vinyl decal of your taste from the internet, you may have to visit any local company near you and inquire if a customized vinyl decal can be available for you. A few RV companies may agree to make specific decals for their clients but at an increased price.
Some online companies may also make custom vinyl decals for RV decal repair. These companies work by sending pictures to the customers, and the customers choose the design that they desire. Personal customization of vinyl decals may cost more in many cases, but it proves to be fully satisfying, unlike settling for what you never wanted.
Wrap Your Rv
Unlike choosing to cover your RV with vinyl decals, this method involves covering your RV with one piece of special paper-like structure. In most cases, these papers may contain different graphics to be more attractive. This RV decal repair method is more expensive than applying vinyl decals.
This giant piece of paper is relatively easy to put on the RV but doesn’t last long as applying paint all around. On other occasions, this paper may begin to fade and crack due to the subjection of heat.
Reasons to DIY Your Decal Removal/Repair
There are several reasons why many RV owners usually choose to remove old cracked decals from RVs themselves. Below are the main reasons:
They are Cracky and Chipping
It is common to come across chipped or cracked decals on RVs. In most cases, it may not be necessary for the rig to be too old to witness these cases. RV decals crack, chip, and peel off due to other elements, such as too much exposure to salt, moisture, and other features available.
In most cases, you may notice some letters missing from the surface and may be partially or fully. Cracked or missing letters may cause bigger problems. Missing letters may change the meanings of specific words and make them acquire other meanings that may even be abusive in some ways.
They are Ugly
Some RV manufacturers do not have pleasing aesthetics when selecting designs for the back and front rigs. Many people usually purchase RVs due to their beautiful decals. Some people typically buy RVs, and even before taking the first trip, they make sure they remove the ugly decals.
You may also go for the ugly decal but a beautiful body. This move may save you a lot in the future when dealing with the decals. Some American RV manufacturers have begun making their creations simpler with fewer details in decks and paintings. This move comes from the European RV styling.
They Have Faded Away
Many RVs usually spend most of their time outdoors in the sun. Once the decals fade away, they add years to your RV, making it look old. The ugly old look forces individuals to quickly take action and fix the issue by themselves.
Tools Required for RV Decal Repair and Removal
Many people are usually interested in removing old cracked decals from Rv. In some cases, some of these people do not have the right tools needed to get the job done. Sometimes it may be the lack of knowledge about the correct tools. Below are the primary tools that you need for removing RV decals:
- Plastic putty knife. (select the type of plastic putty concerning the variety of decals on your RV. In some cases, the plastic putty may not be a compulsory requirement)
- Heat gun or a blow dryer
- Goo Gone, or another adhesive remover. (On most occasions, Goo Gone spray bottles may prove to be the perfect selection), Some scenarios may also require using WD40, which works almost like the Goo Gone spray bottle. (Always remember to perform a test of the remover that you choose on a specific part of your RV. This test may prevent you from damaging various sections, such as the fiberglass, with your chosen product.
- Paper towels or rags
Our Top RV Decal Removal Tips
Several tips on removing decals from RV come to add up in the instructions to make the decal removal process even much simpler. These tips also play a significant role in ensuring your safety and success during the procedure. Below are the main tips to keep in mind before you remove decals from RV:
- Use of a Safe Ladder
Before removing the old cracked decals from RV, you must remember that your safety needs to remain paramount. Because of this, you need to make sure you use a good strong ladder when climbing up and down the RV.
When scraping out the old RV decals, you will be leaning and adding pressure using the other hand. Pulling out the decals means you will use the other hand; therefore, you only depend on your knees for support. If you do not have a strong ladder, you may trip and fall off, injuring yourself.
Sometimes, you may create scratches to your RV’s body while falling off the ladder. If you scratch your RV while falling due to a weak climbing ladder, you may spend more making other unplanned repairs.
- Add Some Patience
Including some patience in yourself makes RV decal repair a little tolerable. On some occasions, you may have multiple things to attend to apart from this project. Therefore, do not focus on removing the old decals in a single day.
If you perform the whole process in a single day, there are times when you may feel physically tired and wrongfully remove the decals. Some old RV decals may be so old that they require a longer period to finish the job. To correctly get rid of such old RV decals, you may have to spend several days working and put up with such a wait, and patience is the primary key.
- Make Use of Some Breaks
Taking some in-between breaks during the RV decal repair process may prove so helpful. These breaks usually help revive your physical energy and mental mindset regarding achieving the final results. Taking these short breaks in between the work may also help develop your patience, which is heavily needed to complete removing old cracked decals from RV.
Protecting RV Decals From Damage
You may be among the individuals who find the process of removing old RV decals very tiresome and long. However, you may prevent yourself from removing old RV decals by protecting them from damage now and then.
To achieve positive results with the lifespan of your RV decals, you need to follow several instructions. Below are the main things to do to elongate the lifespan of your RV decals:
Do Not Use Abrasive Cleaners
As an RV lover, you may want to maintain the general cleanliness of your RV more often. When cleaning the surface containing the RV decals, remember not to use abrasive cleaners. Abrasive cleaners can destroy the RV decals, thus reducing their natural lifespan.
Always look for products that are only meant to clean RVs. In some cases, it may sound difficult or even expensive to make this move but in a real sense choosing the right cleaner saves you in the long run in terms of replacing or removing the RV decals.
Park the RV Under Good Shade
One of the leading reasons RV decals lose their looks quicker than usual is too much exposure to the sun. When you expose your RV to the sun for long hours, UV rays hit the decals, forcing them to lose color permanently. You may prevent the UVs from ruining your RV decals by simply parking your RV under a good shade.
Parking your RV under reasonable shade limits the amount of sun hitting the surface of your RV and thus saves your decals. You may consider spending more to build a much broader and more effective shade.
Choosing a more costly shed for RV parking means spending a few more than the budget but saving yourself from further future expenses that may come from your RV decals.
Look Out for Brunches
Once in a while, you may notice RV decals peeled away or stripped apart. The leading cause of this RV decal damage is usually falling branches. Because of this reason, always consider looking for spots with fewer or zero hanging branches anytime you need to park your RV somewhere.
You may also get this problem while driving on the road. Never drive on narrow routes with many trees and hanging branches close to you. When you’re at campsites, always avoid small bushy road parts.
Properly Cover RV During Storage
In some cases, parking your RV under a good shed is never enough to protect your RV decals fully. If this case is for you, make sure to add a cover to the surface of your RV. The cover will guarantee extra protection to the RV decals and the whole surface.
Choosing to cover your RV to protect your RV decals means that the location where you are parking does not matter that much. With a cover, you may park your RV in an open space, and you can relax knowing your decals are entirely safe. However, if you consider covering your RV in an open place, ensure you use the best RV cover.
Different types of RV covers come in various materials and range in different prices. To ensure the safety of your decals, pick an expensive cover with good quality if you are storing the RV in an open place. Suppose you wish to cover your RV while in the garage or shade; pick any type of cover, even a weak one.
Make Use of Protectants on the RV
The process of cleaning the RV can be long and tedious for many. Many people may simply wash the RV and leave it at that. However, washing the RV and leaving it plain won’t be so friendly to the decals. You need to make an additional important step, adding a unique form of protectant on the surface.
This protectant provides extra protection to the paintwork, but it works perfectly the same for the decals. After knowing about such importance, you would not want to skip this process. Some protectants work an extra mile by protecting the harshest substances, such as petroleum.
You need to keep in mind that some RV waxes usually contain other harmful components, such as petroleum distillate. You may not need to worry about the protectant on your side since it will create a super protective barrier.

Maintain Track of Your RV Maintenance Process
You need to keep track of everything in the maintenance process that you perform on your RV. If you skip looking at some parts of your decals or applying for additional protection when the right time comes, you may run on losses. You may keep the maintenance process in a notebook or use an online tool on your smartphone.
Using your phone to keep track of this process is more efficient than using a notebook. With a smartphone, you can get notifications immediately when the time for removing old cracked decals from the RV comes.
That’s a Wrap
The instructions and tips for removing old cracked decals from RV simplify the process. Old RV decals can be annoying, but the removal process can be as simple as possible.