How Long Does it Take to Fix an RV Water System?
If your RV water pump keeps running and you don’t know how to deal with it, today is your lucky day! In this comprehensive guide, you will discover how to troubleshoot and fix your RV water pump. Depending on the issue, you may have to spare around 15 to 60 minutes to fix it.
There is no way you will enjoy camping with your RV water pump not working correctly. This is because onboard plumbing facilities are critical for RV camping. The appreciation of this fact inspired the creation of this comprehensive RV water pump troubleshooting guide.
This guide will provide critical information on troubleshooting and fixing several RV water pump problems. Whatever the issue troubling your RV water pump is, the troubleshooting solution is covered in this piece. Let’s knuckle down!
Tools Required for RV Water Pump Troubleshooting
As long as you own an RV, running into RV problems is a must! Unfortunately, these problems do not consult whether you are a rookie RV owner or a certified professional. In this sense, it is wise to arm yourself with RV troubleshooting skills.
Before fixing your RV pump, you must know what the problem is, right? Additionally, the bills that come with hiring an RV mechanic can be relatively high compared to the minor procedures they perform. In this regard, DIY RV water pump troubleshooting, maintenance, and repair are excellent ways of saving your hard-earned cash.
Fortunately, most RV water pump issues are easily fixable, even if you are not a certified professional! So, what tools do you need to fix your RV water system?
Well, it depends on what is causing your RV water pump to keep running. Nonetheless, here are the tools and supplies you must have:
- Screwdriver
- Wrench
- Pipe primer and adhesive
- Replacement water pipe or line
- Saw
- Allen key
- Pliers
- Replacement pressure switch
- Bucket or towels
- Replacement water pump
Fixing an RV Water Pump That Keeps Running
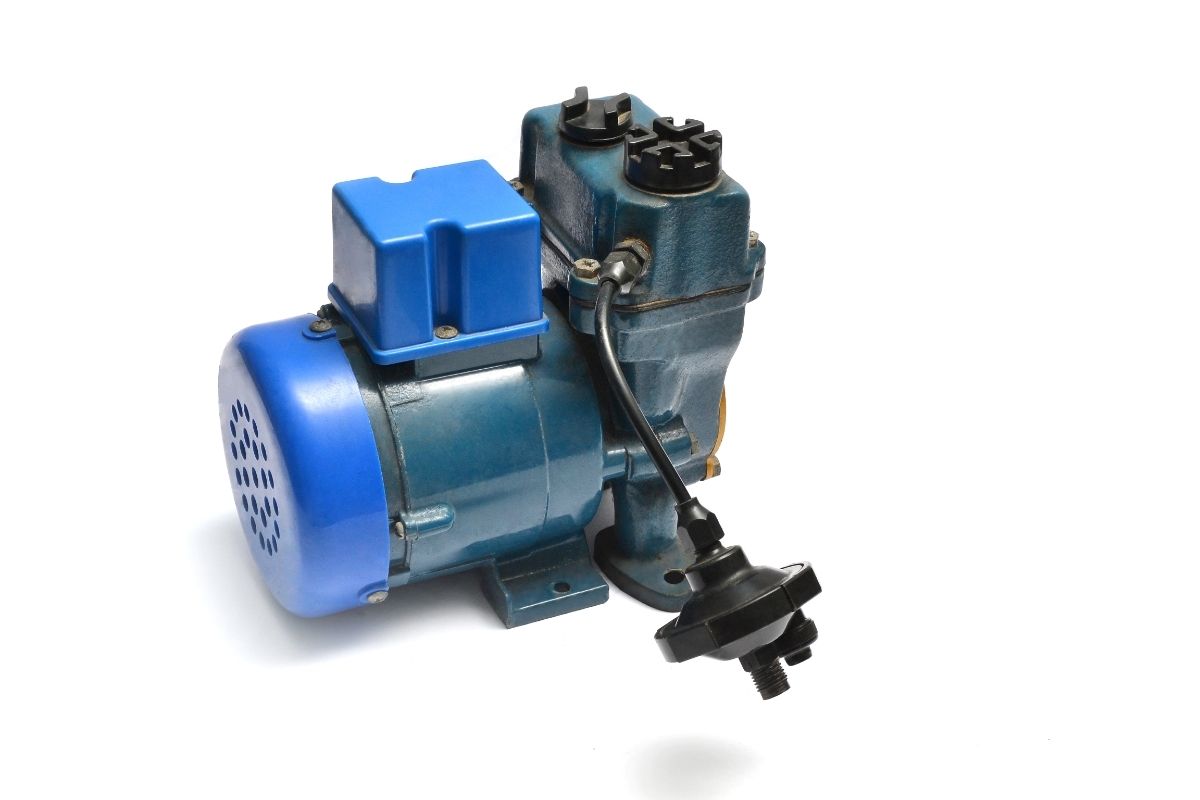
Nothing can be more annoying for a camper than hearing your RV water pump running while trying to relax. But, despite the frustration that the noise brings, you will also notice that the constant cycling could result in premature wear. This could mean you buy a new pump sooner than necessary.
Fortunately, troubleshooting and fixing your RV pump that keeps running is not a tough job. In many instances, you can fix the pump within an hour, using a few handy tools. In this section, you will learn the steps you can follow to discover the problem and fix it.
How to Fix an RV Water Pump that Keeps Running
If your camper water pump keeps running, it indicates an issue with the water pressure somewhere in the system. Whenever the pump senses that the RV water pump pressure has reduced, it kicks in to ensure a steady water flow.
Therefore, the first thing you ought to do is ensure water is in your freshwater tank. This may seem obvious, but you can easily forget. Check the tank’s gauge, and if it is empty or low, the RV water pump will not work.
When your RV pump keeps cycling even when no one is using water, you need to inspect every line, valve, and connection in the system to determine what is causing the pressure to fall. But, before attempting any repairs to your pump or water lines, ensure you shut off the electricity and water supply to the pump.
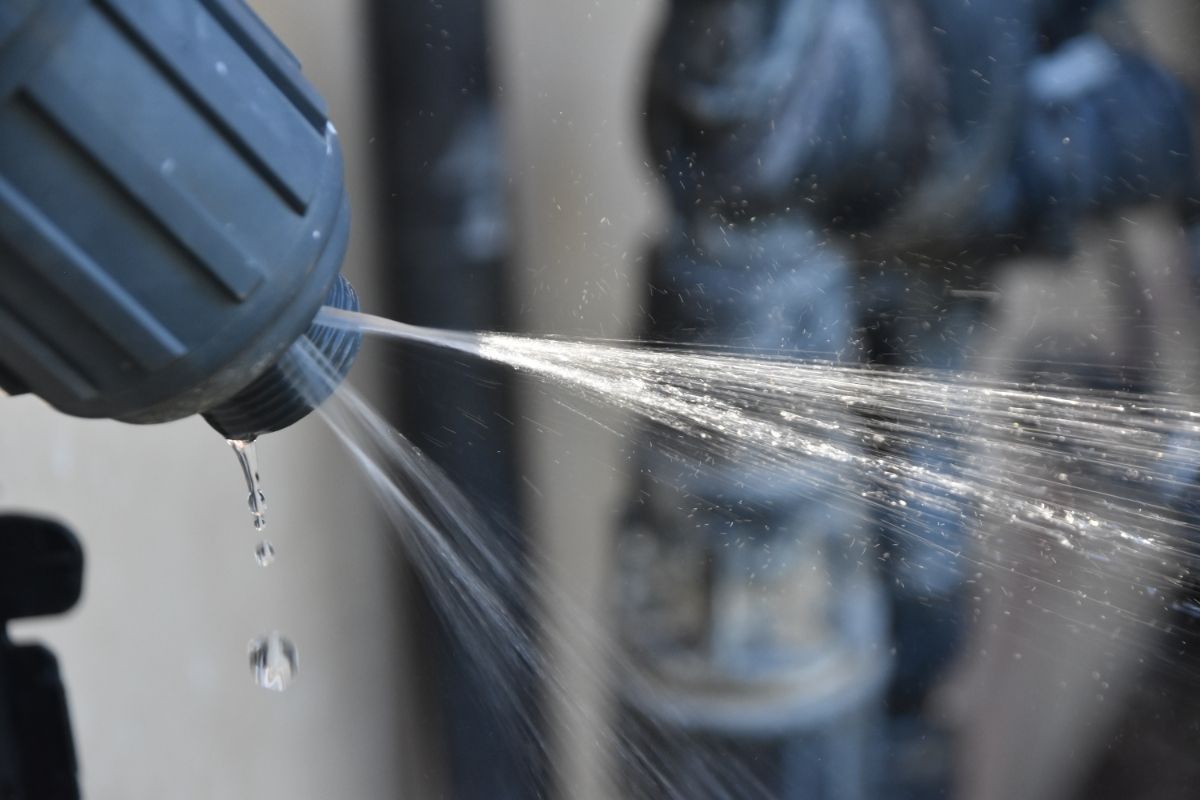
Are There any Water Leaks?
A leak anywhere within the water line would be the obvious issue. If there is a leak, you will see dripping or puddle water. Carefully trace the water line from the pump to every fixture, including places not visible. For example, check the toilet or freezer’s ice maker, leaks in such areas might not be very obvious.
Suppose you discover a leak somewhere make the necessary repairs. It could be fixing or replacing the parts causing problems. For example, fixing a leaky faucet may simply require you to replace a corroded washer. On the flip side, if it is a cracked pipe or broken water line, you may have to remove the broken section and install a new one.
Are The Screens and Filters Clean?
Dirt and sediment build-up can cause a drop in pressure causing your water pump to run constantly. This is likely to happen if you usually use sandy or unfiltered water hookups in camps and other locations. To fix this issue, clean the screens and filters within your pump and other places in your system.
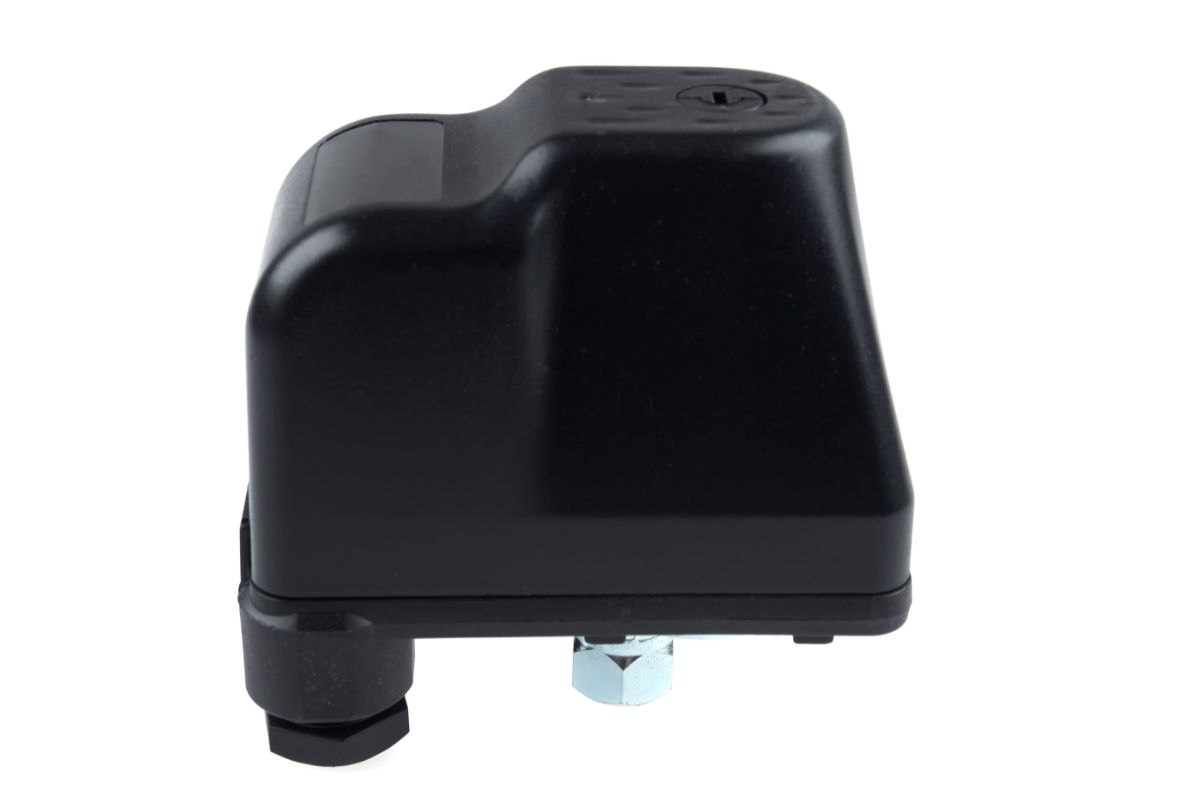
Do You Need to Adjust The Pressure Switch?
The pressure switch is the component that allows you to shut off the water pump once it reads that a particular reading has been reached. Most water pumps come with an adjustment screw that lets you determine the pressure requirements before the RV water pump cycles.
Adjusting the screw in one way makes the pump more sensitive, reducing pressure. On the other hand, moving it the other way decreases its sensitivity. The tools required to adjust the water pump’s sensitivity depend on the model of your pump.
Here is how to adjust the pressure switch:
- First, find the adjustment screw and acquaint yourself with its settings.
- Next, have another person turn on the shower for about 30 seconds before turning it off.
- Once the shower is turned off, adjust the screw until the pump turns off.
- Have the shower turned on again for another 30 seconds to confirm the adjustment. The pump should run for a short while after turning off the shower. Suppose it runs for too long; keep adjusting and testing until you get the correct setting.
- If the RV water pump keeps running despite the adjustments, you may have to replace the pressure switch. However, before replacing it, check for leaking valves and pump seals. You will learn how to troubleshoot the two in the following sections.
Are there any Leaking Valves
Some plumbing systems come with non-return valves that allow water to flow in one direction. For example, when water is pumped to a showerhead mixer, the non-return valve gets fitted into the hot and cold inlet pipes.
If the non-return valve fails, the water flows back through the system, which leads to a pressure drop. When the pump senses this pressure drop, it keeps pumping. So, if there are no visible water leaks, check for failed non-return valves.
You will need the diagram for your water system to discover where the non-return valves are located. Once you locate them, you will need to examine the valves one by one to confirm they are working correctly.
This means you may have to depressurize your water system by switching off the pump. Once the pump is off, you can drain the water from the pipe where the non-return valve is fitted. This allows you to remove the valve without flooding your RV and causing further damage.
Once you remove the valve, examine whether it is clean and anything is hampering its operation. Check whether its flap is moving freely in one direction only. Clean it and look for any damages. If any part seems damaged, you will have to replace it.
Are there any Leaking Pump Seals?
Water pumps have rotating blades known as impellers which must be sealed to ensure the proper water pressure is maintained during operation. However, wear and tear leads to the seals failing. Their failure results in pressure loss through the RV pump’s suction lines.
However, most RV pumps come as sealed units meaning you cannot easily replace parts. So if they fail, you buy a new one.
Suppose the valves and seals seem to be working just fine; this shows that the pressure switch could be the problem. A faulty switch causes the RV water pump to run continuously because it cannot gauge the pressure.
To replace the switch, you just need a screwdriver and then follow these steps:
- Find the pressure switch on your RV water pump.
- Remove the screws on the pressure switch.
- Remove the old button and put it aside.
- If you got a new diaphragm, replace the old one.
- Place the new pressure switch in its position.
- Replace the screws to attach the new pressure.
If You Need to Purchase a New Pump
Suppose your pump is old or replacing the pressure switch does not sort the problem and your RV water pump keeps running; you may need to replace it. However, replacing an RV water pump by yourself requires more effort than repairs.
But you can still do it. Here is the simple process to follow:
- First, ensure you turn off your water supply.
- Power the water pump off and cut the electricity supply to the pump. You can do this by removing the pump’s fuse from the breaker box. Alternatively, you can disconnect all the power in the RV.
- Turn on the water to drain water from the system; turn off the faucet once the water stops flowing.
- Use pliers or screwdrivers to disconnect the water pump from the power source and latching controller.
- Use a bucket or towels beneath the pump to catch any leaking water. You can remove the RV water pump’s inlet and outlet water lines with the bucket in place.
- Remove the screws holding the water pump in place to remove it from its mount.
- Remove the inlet filter from the old pump and clean it painstakingly to remove dirt and debris and connect it to the new pump.
- Mount the new pump and fasten it in place using the existing screws.
- Restore the inlet and outlet water lines to the new water pump.
- Reconnect the new pump to the latching controller and power supply. Ensure you follow the instructions provided with the unit.
- Reconnect power to the new pump and turn it on.
- Turn on the faucet to test the new pump. The water pump should turn on, and water should begin flowing. Allow some time for the air in the system to clear and water pressure to be restored, then turn off the faucet. The pump should shut off after a short while.
- Examine the inlet and outlet hoses closely to ensure they are not leaking.
Troubleshooting and Fixing Other Rv Water Pump Issues
Suppose you winterized your RV water pump during fall, and during spring, the camper water pump is not working; there is something you did wrong. But don’t beat yourself up because it happens! If your water pump does not turn on after winterizing, here are a few questions you should answer to fix it:
- Check whether you left the grain open when you intended to fill up the freshwater tank.
- Examine whether everything is reconnected correctly after pumping antifreeze through the RV water pump system.
- Confirm that all the shut-off valves are open.
- If your pump is silent, check whether there is electricity. Also, check the fuse panel.
- Using a voltmeter, confirm that you have 12 volts at the pump. Additionally, confirm that the pump is grounded, for if it is not grounded, it won’t work.
Fixing a Noisy RV Water Pump
Is your RV water pump noisy? Can you hear pipes rattling? If that noise is driving you nuts, you need to take a deep breath and relax; you can fix it!
First, the noise is probably due to design or installation. RV companies usually try to fix all the pump parts as fast as possible. However, in some instances, it leads to loose RV water pumps, which cause sounds like someone is banging on the pipes with a hammer. How do you fix this?
- First, locate the water pump and turn it off.
- Unscrew it to remove it, then put a piece of rubber padding under the pump.
- After that, screw it back on, and you will have sorted the noise issue.
- To stop the clanging sounds, wrap the water pipes with foam pipe insulation and duct tape. Ensure the insulation’s thickness is at least half an inch.
How to Prime Your RV Water Pump
Another RV water pump troubleshooting hack is priming your pump after keeping it in storage for a while. Follow these steps to prime your RV water pump:
- First, fill your freshwater tank with water.
- Next, turn the cold water in the RV on. Next, ensure all the faucets are open.
- Finally, switch on the water pump close to your RV water tank.
- This will prime the water pump by forcing water up from the tank through the faucet. Allow the water to flow for some time before you turn the taps off.
- You should flush out the air in every faucet. This means you need to open, close and run water to the taps one by one. Do this for all the water outlets such as the toilet and showerhead.
- With that, your water pump is completely primed.
What if You Have Rv Water Pump Leaking Issues?
Your camper trailer water pump is supposed to turn on every time you turn on a faucet or flush the RV toilet. However, suppose after you finish your tasks and turn off the water and the RV water pump keeps running, there is a chance that your RV water pump is leaking.
In this case, you should first confirm that the check valve is not broken. The water valve tells the RV water pump when to stop. So, if it is cracked, it usually instructs the pump to keep running, causing the freshwater tank to rise. If this is the issue, you can try this:
- Turn off the water and take off the current check valve. It is usually located on a tube or hose connecting the freshwater tank with the water pump.
- Install a new check valve on the line. Ensure the arrow on the valve points right at the freshwater tank.
- Reconnect the other end of the valve to the RV water pump. Please ensure it is an excellent fit. Test your RV water pump.
All these tips will help you in your RV water system troubleshooting exercise. If you cannot perform any of these routine maintenance and repair procedures, you will have to seek the help of a specialist. Nonetheless, it is essential to appreciate that the RV water pump make and model determines the steps you will follow to repair.
For example, Flojet water pump troubleshooting procedures are different from Shurflo pumps troubleshooting. Fortunately, each comes with a user manual that makes the entire process like a cakewalk if you are willing to get your hands dirty!
6 Reasons Why Your RV Water Pump is Still Running
By now, you know that the RV water pump usually cycles to pump water from the freshwater tank to where you are drawing the water. But if the camper water pump keeps running, you need to troubleshoot it. Here are six reasons why your RV water pump keeps running:
1. An Open Valve or Tap
Your RV water pump won’t shut off if a tap or valve is open. This may appear obvious, but check to ensure all valves and faucets are closed before checking other things.
2. The RV Water Source Switch Setting is Incorrect
Some RVs have a switch that controls the RV source in the freshwater tank or city water. Therefore, suppose your controller is set on the freshwater tank, and city water is hooked. This could cause the pump to keep running. Suppose your RV has these switches; ensure it is on the right setting.
3. Leaking Water Line or Connection
Camper trailer water pump system leaks can cause your RV water pump to run. It could be a loose or worn-out connection, a crack, or a pinhole in a pipe. Sift through the water lines and links for any leaks; if you find any damages, repair or replace them based on the degree of the damage.
4. Camper Trailer Water Pump Filter is Full
The RV water pump comes with a screen or filter to keep rubble away from the pump. Therefore, suppose the filter is clogged with debris; this could cause the RV water pump to run.
You can effortlessly locate and clean the water pump filter. Moreover, it would help to do it routinely to ensure your RV water pump runs without hitches.
5. Leaking Water Pump
Your RV water pump can develop a leak, as you have already discovered. It is wise to scrutinize the pump for any leaks. Suppose the pump is leaking; please switch it off. Use the instructions shared in the previous section to either repair or replace the connection seal. Depending on the degree of the damage, you might have to replace the entire pump.
6. The Pump’s Pressure Switch is Broken
RV water pumps usually come with a pressure switch that turns it off when it hits the set pressure. However, if the pressure switch is not working as it should, your RV water pump will keep running.
In this instance, the best solution is to replace the pressure switch. Fortunately, you already know how to replace the pressure switch.
Conclusion
Like any other repair, RV water system troubleshooting is up to you. This comprehensive guide is supposed to guide you and give you practical suggestions. However, even though DIY RV repair and maintenance is an excellent way to save money in the long run, it wouldn’t make sense if you end up damaging one of your systems.
Therefore, it would be best to seek the counsel of a professional before you make any adjustments to your rig. Moreover, it would help if you also appreciated that each RV water pump is uniquely designed; hence it should be diagnosed and repaired.
For instance, Shurflo 2088 pump troubleshooting should be treated as Shurflo water pump problems and not as any other.
Otherwise, you will risk the mechanics and interior of your rig. For instance, you can perform a faulty installation that may lead to your RV’s accidental flooding, causing more damage. In a worst-case scenario, you could burn down your RV if you make faulty electrical connections. Luckily, you can find trustworthy RV repair professionals to work with.