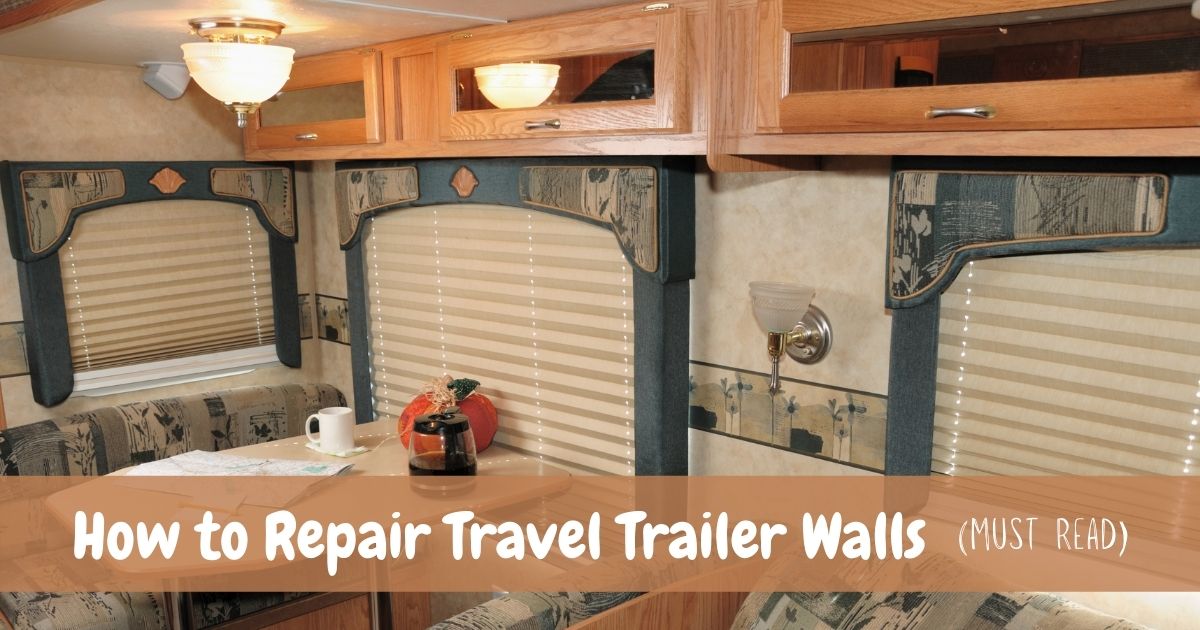
Rv Wall Repair Do it Yourself-Is This Possible?
Are you wondering how to repair travel trailer walls? The best thing is that you can do it by yourself! Having a travel trailer is a good thing; you won’t have to worry about vacations or weekend treats.
However, what happens when you want to travel but have a damaged trailer? In this article, we will look at ways in which you can repair RV walls by yourself.
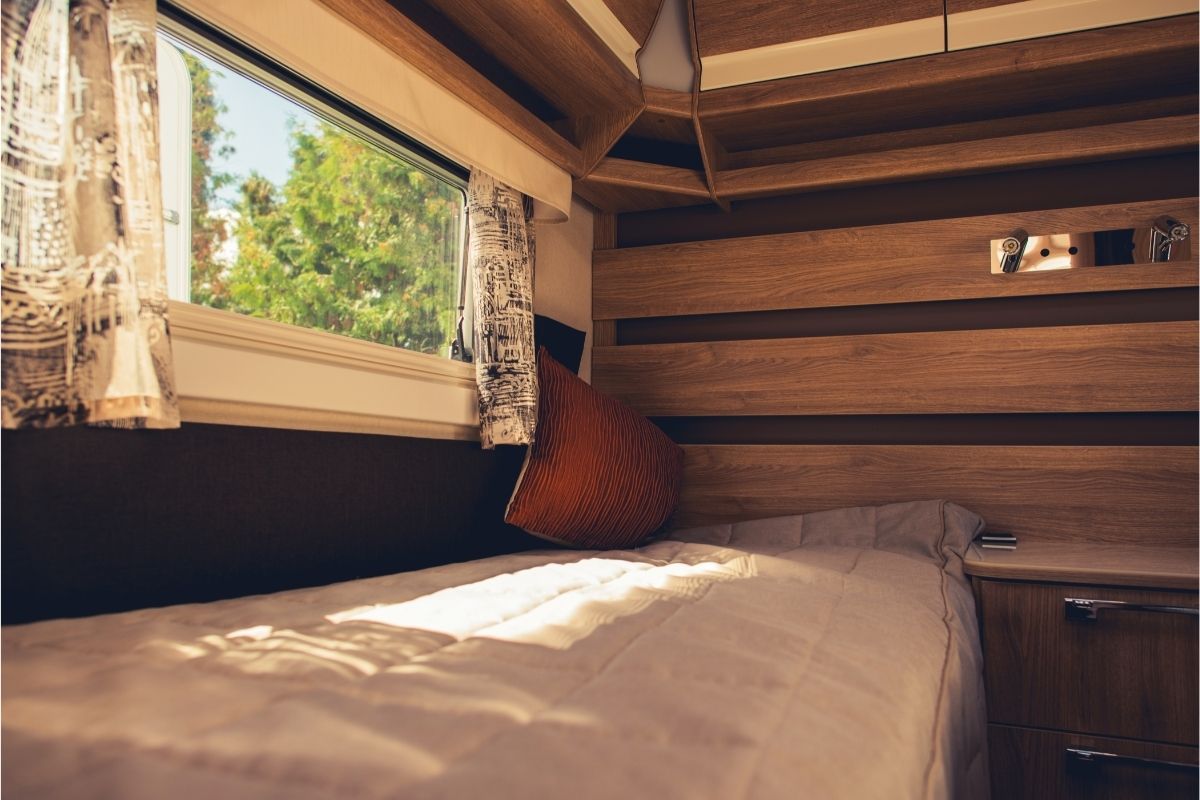
How to Repair Travel Trailer Interior Walls
Before you decide to start any repairs, you should inspect which part of the wall needs the most attention. Look for damp areas around the edges of the panel. The wet areas provide a breeding ground for dangerous bacteria.
Below are steps you can follow to repair your travel trailer walls:
Clear Paneling and/or Carpets
Check the RV interior wall material. If there is any carpet or paneling, remove it. Some places on the wall may display wear, while others will need a closer look. Also, ensure you check the adjoining wood since it may need to repair it as well.
Always start from the ceiling as you work towards the floor. Most camper wall panels are made with particle boards that disintegrate whenever you expose them to water. Mold and moisture can destroy whatever insulation you have. There is an option of spraying foam which is cheap and easy to work with.
Circumvent Obstructions Like Plumbing and Wiring
After clearing, check whether there is any plumbing or wiring that may prevent you from reaching your working area. RV interior wall repair can be hectic since wiring and plumbing run throughout the camper. Therefore, you need to reroute the important ones and use the others until you can replace them.
If you are replacing RV wall paneling, you could switch out the wires and pipes. There are newer campers that come with plastic tubing making it easy to repair camper walls.
Seal to Prevent Moisture
The main weakness of travel trailer walls is the paneling. Some particleboard walls tend to collapse after a few rounds of snow or rain. Once you see a defect, use an epoxy sealant to prevent moisture from coming in. Having a bond is essential. Ensure you have one for the edges and joints.
Sand the Repaired Spot
After sealing that section on your wall, you need to sand it. Let the sealer harden first before sanding. Get sandpaper to work on the area you have repaired. On the other hand, fiberglass can be tricky; it is made with layers of hardened plastic.
As much as it looks tough, it can also fail. In this case, you will need to use a Liquid Nails Solvent that will run inside the walls. Let the epoxy dry and harden, and you will have a wall that is as good as new.
Paint the Trim
You can choose to paint or not. If you choose to, use paint that reflects what you like. During this time, you can also do some upgrades to your bedding, furniture, or lights. For instance, you can use LED lights to replace the old bulbs.
How to Repair an RV Water Damaged Wall
The biggest problem with RV interior walls is water damage. Don’t worry because here, you will learn how to repair RV water-damaged walls. Follow these steps to deal with this problem:
Check for Stains
If you want to find out where leaking takes place, look for stains. When water flows through cracks or seams, it leaves a brown tint. So whenever you see a stain, be sure the leaking is around the corner. The stains will always be around areas with most water usage.
Check for Mold
There will always be a discoloration effect on the insulation or carpet. You will know how intense the damage is by checking the level of discoloration. Light brown means the area has not been receiving enough moisture. Look out for black, wet areas.
If you notice black mold, cover your eyes as it can be harmful. Then, remove the mold using elbow grease. You can also use industrial-strength soap and bleach to get the mold out.
Examine for Further Water Damage
After ensuring the inside is okay, check the undercarriage for water damage. You can do this by inspecting the bolts on the edges of the camper. Check the screws: A clean screw is an indication that the interior walls are not leaking. On the other hand, rust on the screw shows that there is a problem.
Follow these steps to deal with the water damage:
Step 1: Prepare sandpaper, tape, wood hardener, epoxy resin, and wood putty.
Step 2: Look for leaks.
Step 3: Apply RV caulking if the leaks are through the windows.
Step 4: Patch up exterior siding and the roof using waterproof tape.
Step 5: Check the ceiling, floor, and walls for mushiness.
Step 6: Repair damaged wood by removing the loose pieces and smoothing the wood grit using the 80-grit sandpaper.
Step 7: Paint or spray the epoxy resin to prevent the growth of mold.
Step 8: Apply the wood putty to harden the wood after 24 hours. Fill the dents using the wood putty. After that, dry the wood putty and sand it using the 60-grit sandpaper to smooth it.
Step 9: Install the new wallpaper or new paneling.
Step-by-Step Instructions for Repairing Other RV Wall Damage
There are other common RV wall problems. Below are ways to deal with each issue:
RV Fiberglass Wall Repair
For repairs on the fiberglass wall, you need to prepare a drill, sandpaper, fiberglass kit, gloves, foam insulation, auto body filler, breathing mask, and eye protection. Here are the steps:
- Fiberglass can stick on your skin, so wear gloves, a breathing mask, and eye protection.
- Cut the damaged portion using a knife.
- Repair the insulation behind the sliding using the expanding foam insulation.
- Mix the auto body filler and apply it to the hole. Let it dry before sand flushing.
- Paint the repaired area.
RV Foam Wall Repair
The RV Foam wall is another RV interior wall material to repair. Follow these steps:
- Remove all the plaster and drywall pieces cleaving to the hole’s edges.
- Use old papers to stuff the cavity. Arrange from the bottom so that it supports the spray foam later.
- Spray foam up to 3/4 of the way into the hole. The foam will later expand to fill the void.
- Let the foam harden before cutting and shaping it to a concave.
- Scrape the joint compound flat using a knife. Then, let it dry overnight.
- Sand the final coat and then prime the patch using PVA wall primer before you paint.
RV Laminate Wall Repair
One of the significant issues for many RV owners is delamination. What happens is that there is water regression in the interior panel and the film sheeting outside. The build-up of moisture affects the quality of the adhesive. As a result, there will be bubbling and warping on the surfaces.
You may repair it in some instances where you have tiny cracks: Take them to an auto-body repair shop or fix it yourself. In cases of aluminum siding, get particular gel-coat-type waxes to keep your RV looking new.
RV Shower Wall Repair
Follow these steps on how to repair the RV shower wall:
- Turn off the water supply.
- Take out the shower access panel.
- Reach through the panel space and disconnect the cold and hot feeds, the vacuum breaker, and the pipes from the faucet assembly to the showerhead.
- Remove the fitted accessories, e.g., shower walls.
- Lift the shower pan.
- Measure the exact size of the shower enclosure so that you buy the precise scope of replacement.
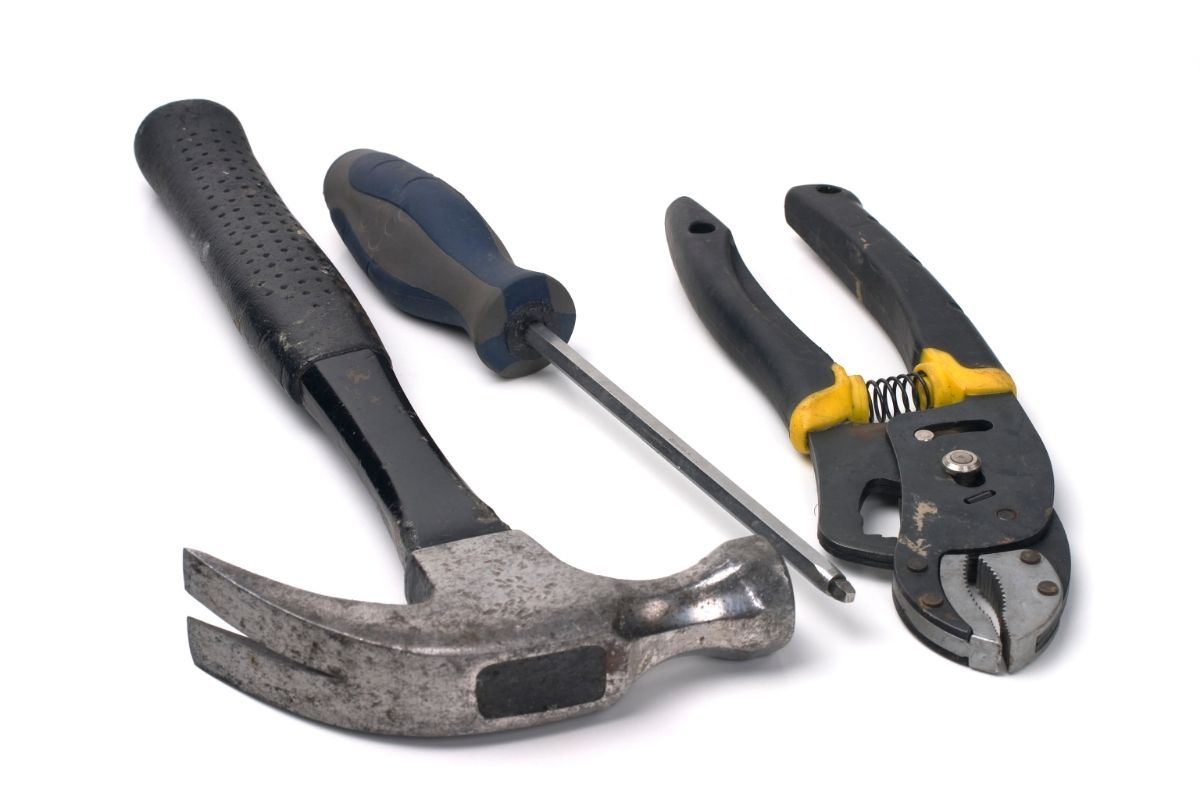
Which Tools Do You Need to Repair Travel Trailer Walls?
To repair travel trailer walls, you need to have the following tools:
- Pry bar
- Hammer
- Nails
- Epoxy
- Paint
- Metal shears
- Screwdriver
- Putty knife
- Electrical tape
- Saw
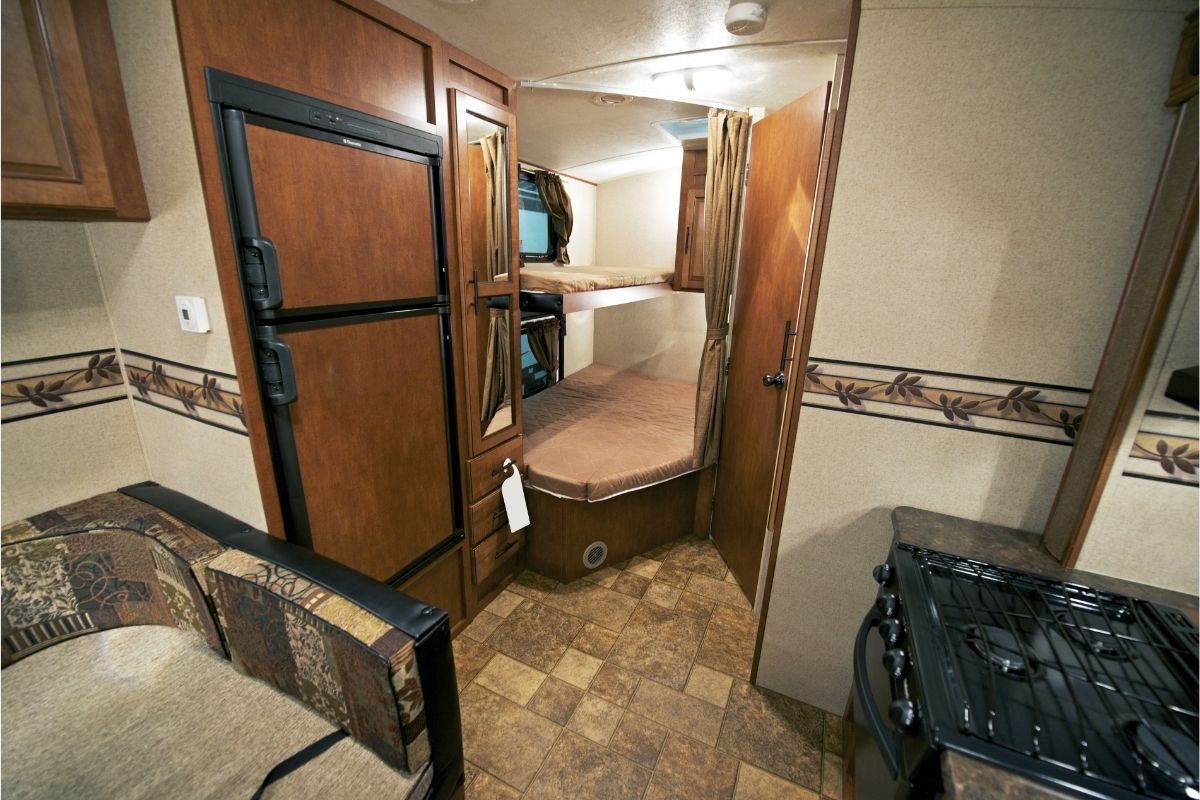
What are RV Travel Trailer Walls Made Of?
Before we look at the RV interior wall materials, let us look at the factors that one needs to consider before choosing the material for the interior:
- Looks – Interior walls provide a good color inside and increase the look. Wallpaper and paint are good choices for the interior.
- Insulation – Camping in colder environments needs a wall that will keep the cold air away. This is the same for warm temperatures. Add insulation to spaces between walls.
- Soundproofing – You may go camping in a noisy environment, and a soundproof wall will come in handy. It is also beneficial since it will keep the noise inside.
Below are the materials used to make the interiors of RVs:
MDF (Medium Density Fiberboard)
These are leftovers from industrial processing. What happens is that they are thrown into a vat and mixed with adhesive forming long sheets like plywood. They measure 1/2 and 3/4 inches and are chocolate in color. The glue in these sheets is very tough.
An advantage of the MDF is that it can serve as any other type of wood. For example, you can use it for backing behind seats and in corners. If you have a carpentry background, working with MDF will be an easy affair.
An important aspect to note of the MDF is that it flakes off when wet. Therefore, it is better to replace it when flaking occurs.
Fiberglass
Walls made from fiberglass are the best for extreme conditions like lots of heat and cold. They fit well compared to wood that always leaves a seamless shell.
It is also light and suitable for walls as it won’t add any extra weight to the frame. However, fiberglass can have nasty impacts on the throat and lungs when inhaled. So ensure you have a breathing mask when working with fiberglass.
Wood paneling
Most interiors of older trailers are made of wood paneling. It is almost the same as the MDF as it comes as a glued sheet or as pieces of plywood. You can use a hammer for cutting, but a nail gun is better since it will ensure no mishaps could ruin the sheet.
As much wood paneling is cheap, they don’t provide needed protection against heat or cold.
What is the Difference Between Interior and Exterior Travel Trailer Walls?
Many interior travel trailer walls are made of three different materials: Each of the materials has its benefits. There is vinyl which is easy to work with. It also comes in different designs: Plywood is another interior material.
It is mainly found in old RVs. It is a good material since it doesn’t warp: MDF is another internal material. It comes from industrial milling and is mixed with wax or resin. The MDF has an outer layer that you can use paint on.
On the other hand, the exterior walls of an RV are made from materials like Adzel that have sound and thermal insulating properties. The exterior walls and insulation go through a bonding process using extreme heat, weight, and glue to bond them together.
The bonding process creates a strong seal and is light in weight. It is then laminated to make the materials last for a long time.
Then, the wood frame and aluminum fit behind the bonded pieces. The frame has cuttings that would fit:
- Electrical wires
- Propane piping
- HVAC ducting
- Audio/video cabling
- Water lines
The difference between the two walls is in the materials used to make them.
FAQs On Travel Trailer Wall Repairs
Below are some of the most frequently asked questions concerning travel trailer wall repairs:
Q: What are the most common issues with travel trailers?
A: The most common issues are:
- Plumbing repairs-you may find burst water lines and also broken water pumps.
- RV toilet issues-you may find a worn seal that needs to be replaced.
Q: Can you screw into RV walls?
A: It is not advisable not to use screws into RV walls. They may cause damage to your walls, leaving you stuck with holes.
Q: Can you hang something heavy on a trailer wall?
A: Yes, you can. Use adhesive strips that are for holding objects on walls. Place a set of stripes on the back of the item you want to hang and then hang it.
Q: Can you mount a TV on a camper wall?
A: Yes. But, you should note that you should remove the TV from the mount when on the move because it has an adjustable arm that can’t lock.
Q: How much weight does a trailer wall hold?
A: It can hold between 50 to 100 pounds.
Q: How heavy of a TV can you mount on a TV trailer?
A: It can support a TV that weighs 33 pounds; this is between 22 to 42-inch screen sizes.
Final Thoughts
From the discussion above, it is clear that you can repair your damaged trailer walls all by yourself. You don’t need to worry about spending cash by asking someone to fix it: or going to a repair shop.
All you need are the necessary tools and equipment, and you will be good to go! So, why have a damaged interior wall in your RV when you can do it yourself?