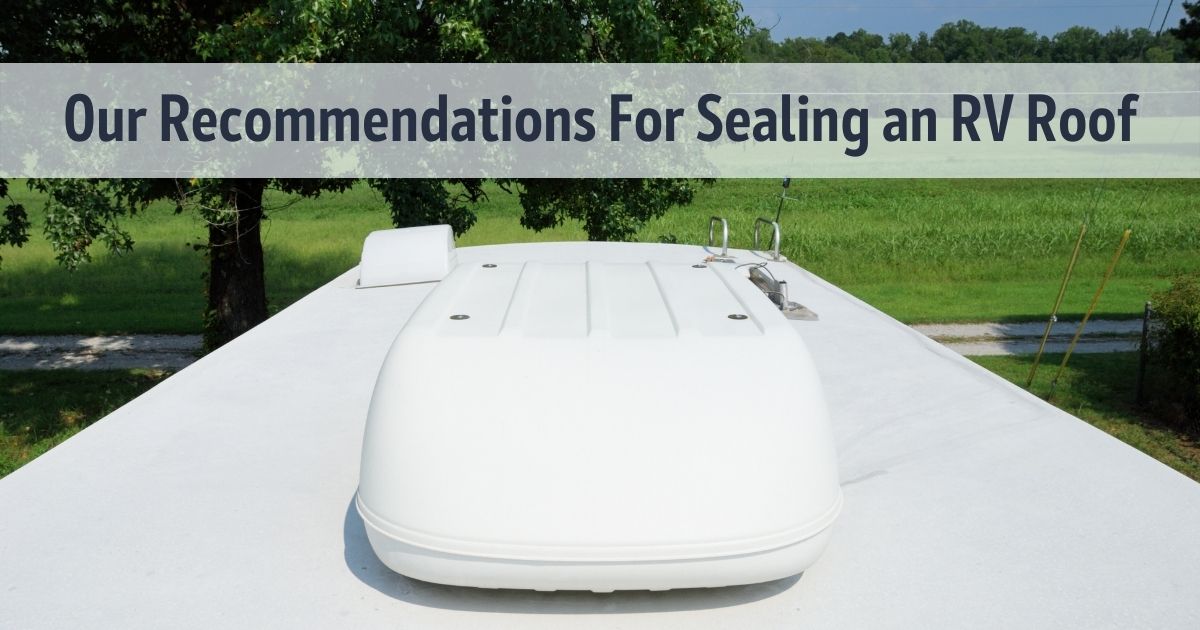
Do you want to prevent water damage to your roof by sealing an RV roof? If you’re going to prevent leaks or flooding, you should consider using a waterproof membrane. This article will give you some recommendations of the best RV sealing products. Let’s get started!
What is RV Roof Sealant?
A sealing RV roof protects against moisture penetration and keeps the roofing materials dry. The two main types are acrylic and latex, each with different benefits and purposes. When we talk about these RV roof sealants, they are used as a layer between the deck and other roof parts such as underlayment, insulation, shingles, etc.
Acrylic coatings require a primer before applying, which helps form bonds that seal out water. They can be used in liquid forms, spray-on versions, or even powder coatings that dry into solid sheets.
Considerations to Take When Sealing your RV Roof DIY
Several things apply when you’re thinking about sealing RV roof seams. You do not need to have previous knowledge or experience installing roofs to use this method successfully. There are, however, a few crucial factors to keep in mind, which are mentioned below.
Consider the Climate
Although it appears to be a straightforward question, it is one that many business owners overlook. For example, we often see individuals who live in rainforests complain about constant problems with their roofs. But when we ask them if they installed the roof themselves, they say no.
Even worse are those who install the roof after buying their RV. It is crucial to know what the weather looks like where you currently reside to avoid issues down the road.
Do You Own or Lease Your RV?
If you’re renting, you cannot make any modifications without permission. If you own, you need to think about how much your insurance covers and whether you intend to keep your RV around for more than five years.
We also recommend asking your RV manufacturer about warranty coverage. Some companies offer lifetime warranties so that homeowners can go through multiple renovations without worrying that their warranty will expire or become void.
Start Small and Work Up
Many people feel overwhelmed when trying to tackle an entire RV roof cleaning and sealing project by themselves. Therefore, it is always better to start small and complete enough projects to gain confidence to continue working on the next step once you’ve mastered the first part.
Use Proper Tools and Equipment
It is common to underestimate how difficult it can be to apply a roof seam correctly. However, most manufacturers give information on what tools and equipment are needed to create a perfect seal. For example, polyester-backed roofing membranes need a unique applicator made specifically to seal the seams properly.
Read the Directions
Even though it seems simple, most manufacturers provide detailed instructions on installation methods and safety tips. Make sure you carefully follow all directions because accidents happen all the time! You don’t want to miss any important steps.
Never Apply a Waterproof RV Roofing Material Over Fiberglass Foam Insulation
Fiberglass foam insulation is one of the leading causes of leaks and damage throughout the RV roof sealant industry. Unfortunately, it’s impossible to eliminate any form of water penetrating any building.
The only way to stop the flow is to prevent moisture infiltration. An acrylic coating can be used as a barrier between the membrane and foam insulation. This can reduce the chances of water leakage.
Wait at least Two Weeks Before Driving or Camping Outdoors
The last thing you want to do is drive off the lot and discover that your roof has leaked everywhere. Waiting for a whole week allows time for everything to be set properly. Once the initial seal has been completed, you can move on to other tasks.
Remember that new RV buyers should wait six months or longer before heading out on the open road.
With the tips, you’ll have no trouble sealing your RV’s roof. So, please take advantage of them and enjoy the benefits of a leak-proof top!
How to Repair an RV Rubber Roof
Repairing an RV rubber roof sealant isn’t as easy as replacing asphalt shingles, but it doesn’t require some complex technique. Using only basic skill sets and materials found in home improvement stores, you can easily repair or replace your RV’s roof yourself. Here’s how:
Step 1- Identify Problem Areas
Most RV roofs have four types of areas:
1. Curved edges where the metal meets the wood.
2. Flat areas under the front lip or rear edge of the roof.
3. Small gaps between adjacent sheets. These gaps are often along the seams.
4. Gaps or tears along the seams.
To determine which area is causing your problem, look closely at your RV roof. What happens? Do you see places where there are holes, or does the surface seem damaged?
Then, consult your owner’s manual to see if the RV roof coating was previously made with the same materials (and in the same spots).
Was this done with exact precision? You may not know this information, but it could help you decide to repair or replace your RV’s top.
Step 2- Determine Solution Method
Depending upon the problems identified above, you’ll need to choose several different repair techniques. Some solutions work well for flat surfaces; others work best for curved areas.
However, whatever your strategy, make sure you choose the best answer for each region.
If you’re unsure, ask your local RV dealer. He may even recommend his preferred technique.
Step 3- Install Solution
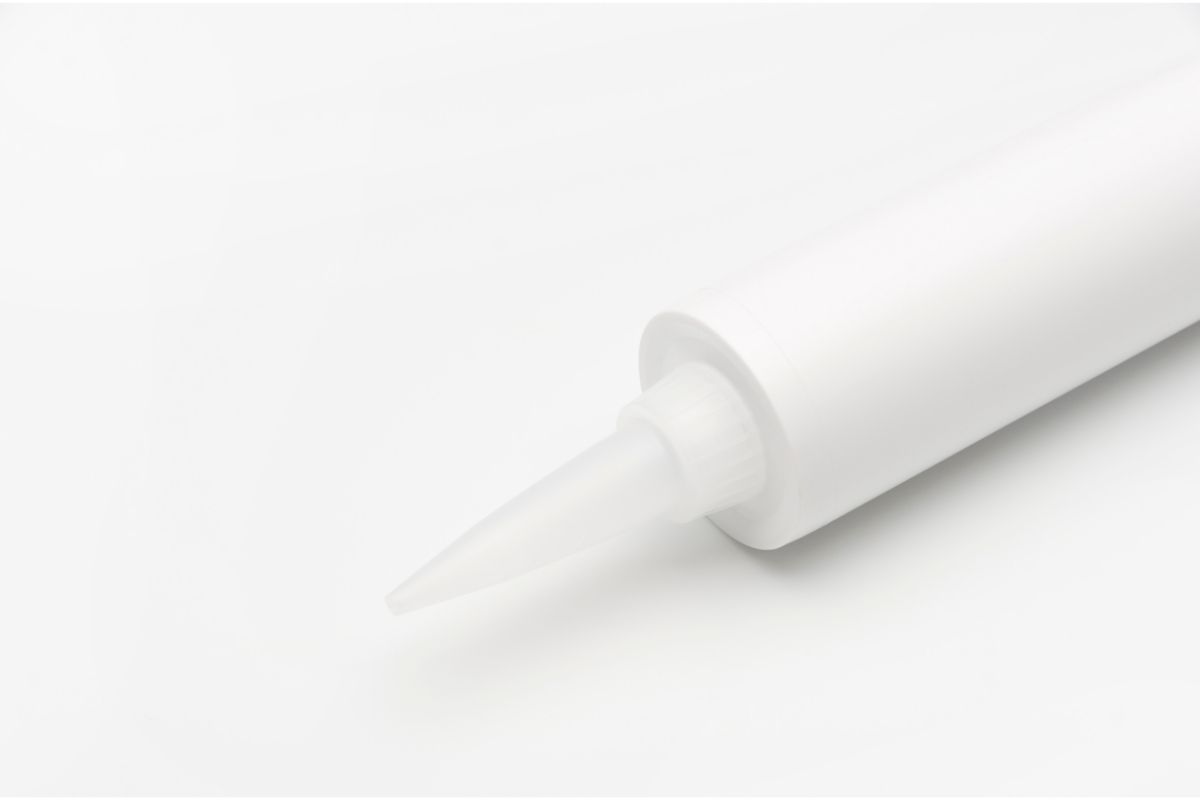
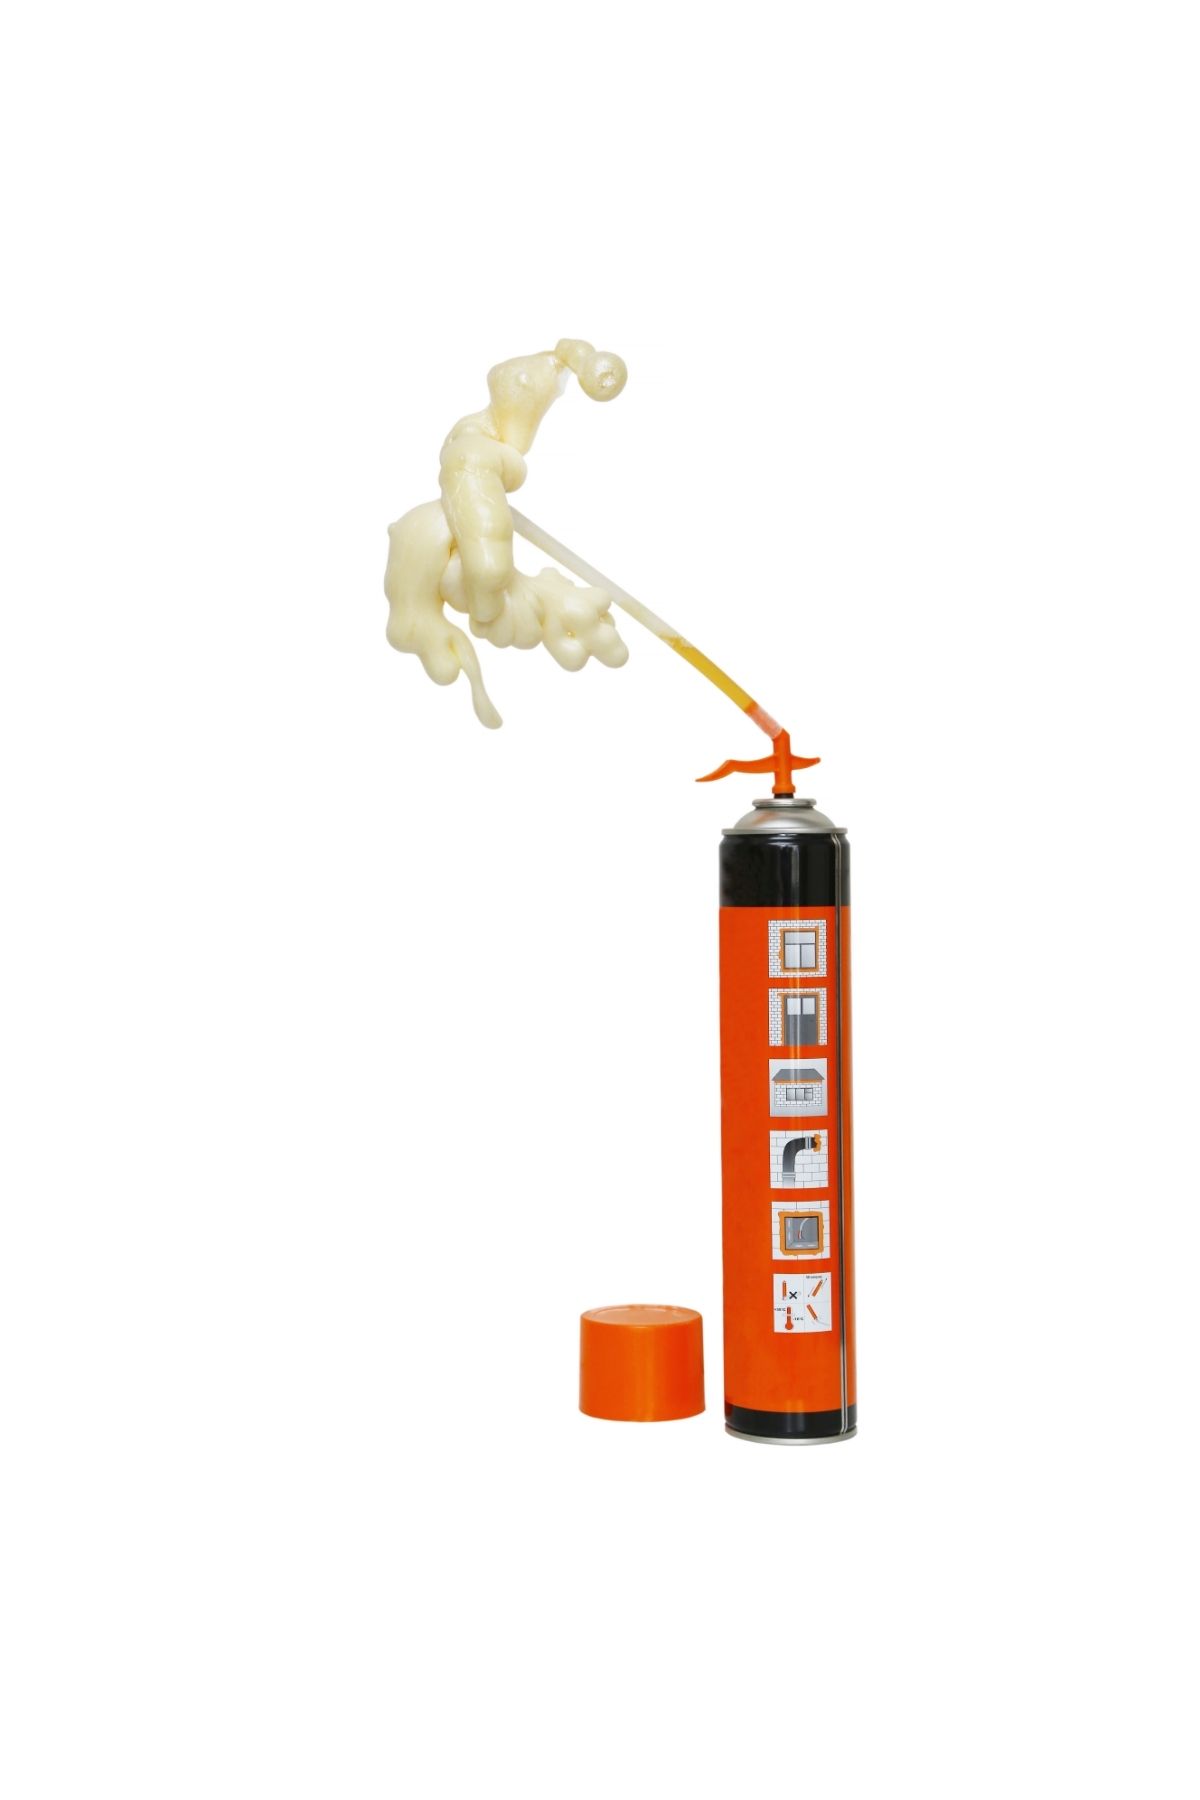
Installing a repair solution takes patience. Most repairs will require several coats of compound or adhesive. You can apply them directly from cans or jars for small patches, but larger ones must be applied by hand.
After applying a coat, allow it to dry thoroughly before adding another layer. Don’t underestimate the drying time. Depending on weather conditions, it might take days to cure fully. A hot sun works faster than cold temperatures.
Step 4- Test Results
After completing all steps, test your repair until satisfied. If you’ve successfully repaired your roof using the proper methods, you’ll notice improved watertight integrity. But, of course, you can always tell more about the effectiveness of any repair method simply by testing it.
Just remember, don’t use high-pressure washing fluids when testing. They can cause damage. Instead, use plain water. If necessary, lightly sand the area to remove built-up rust and debris. Be careful not to gouge the surface because the repair won’t hold up over time.
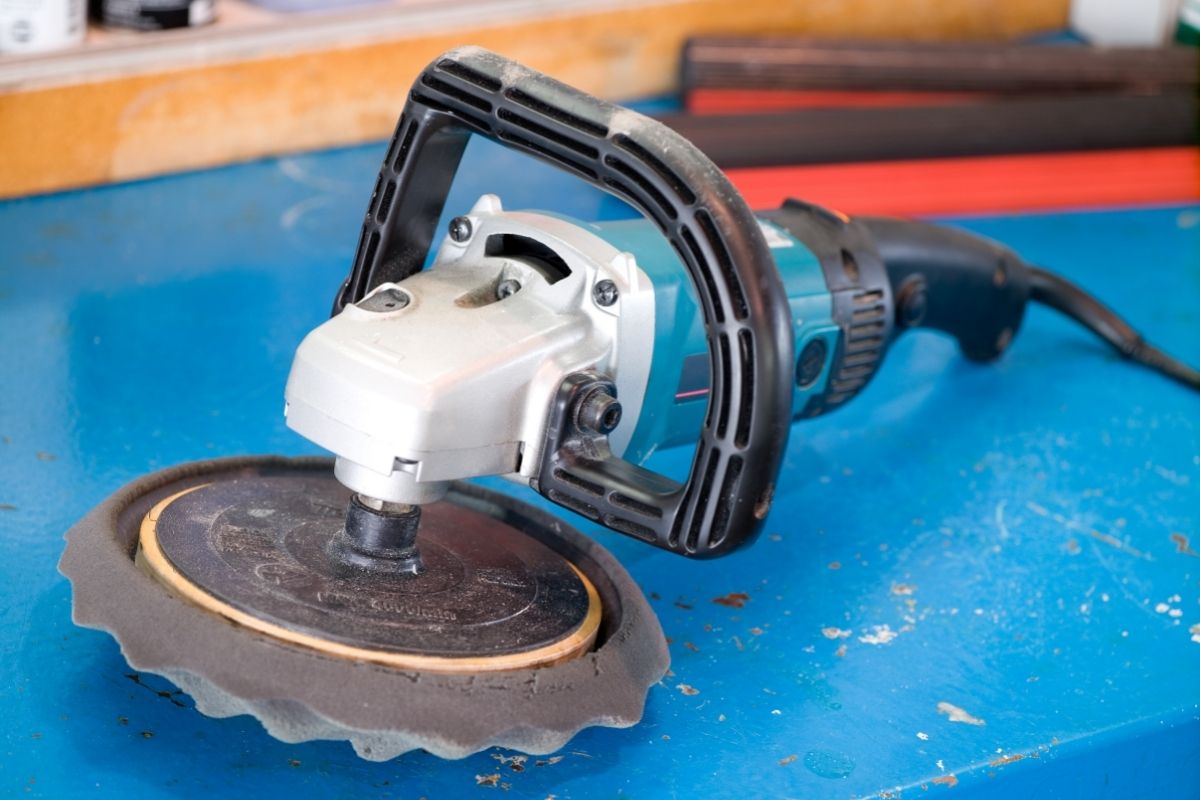
Would I Need an Electric Buffer?
An electric buffer allows you to quickly raise or lower the entire weight of your RV roof system while still being able to control its angle in your camper roof repair process.
You should consider having an electric buffer installed if your RV has an aluminum or composite frame that requires extra support. This adds tension to the frame, which increases the strength of the structure.
An electric buffer can be used to adjust the total height of your RV’s roof by raising or lowering sections of the whole assembly. The main beam supports the entire weight, and no extra support is needed.
If any part of the frame breaks during transit, the electric buffer will instantly stop the rotation and prevent it from tipping over. Again, it’s designed specifically for the needs of RV owners.
Types of RV Roof Sealant
Here are some types of RV roof sealants:
Water-Based
Water-based roofing sealants are ideal for most RV roofs. Their long-term stability makes them suitable for sealing all vehicles without worrying about UV exposure. And they also provide outstanding protection against moss growth.
Oil-Based
These types are ideal for fiberglass or vinyl-covered RV’s. They contain no odors or VOCs (Volatile Organic Compounds). They keep out moisture, fungus, and bacteria, making oil-based roof sealants great for RV’s with exterior fiberglass or vinyl coverings.
Vinyl Resin-Based
These resin-based products are widely used in commercial markets. They are tough, durable, and flexible, so they work well for all kinds of roofs, including canvas tops. In addition, they are environmentally friendly as they do not emit VOCs.
Silicone Rubberized
This type of roof sealant works best on fiberglass roofs. These sealants have a higher hardness than other roof sealants and resist cracking, chipping, and peeling. They come at less expense than vinyl resin-based sealants, but they have a shorter life expectancy.
Acrylic Resin-Based
Acrylic-based roof sealants are versatile and stable, making them the preferred choice for many manufacturers. They are mold and mildew resistant, but they can become brittle with age.
Some roof coating RVs are painted in the same color scheme as the rest of the house. Unfortunately, these sealants are more expensive, and only a few RV models are compatible.
Polyurethane Latex-Based
These roof sealants use latex as one of the major components. They are usually mixed with acrylic particles to increase the flexibility and durability of these sealants. Since these materials are highly flammable, they should be applied indoors.
PVC-Based
PVC Based roof sealants are widely used for RVs due to their versatility. They can be easily installed through small holes in walls or windows.
Most PVB based roof sealants can withstand extreme temperatures making them suitable for RV’s exposed to freezing and tropical climates. PVC roof sealants can be purchased in liquid or paste form, and both kinds require mixing.
Epoxy Base + Mastic
Epoxy-based roof sealants are made up of two ingredients: Epoxide resin and hardener. The mixture is put into cans and dispensed using spray guns. This type of roof repair product is suitable for almost all RVs, but it does take some skill and experience to apply properly.
Which RV Sealant is Best for my RV Roof?
If you have been interested in how to seal an RV roof, you might as well want to know the best sealants. There are so many RV sealants in the market, and you might wonder which one to choose. Here are some five best RV sealants that we can recommend:
Geocel ProFlexRV Flexible Sealant
Because it’s simple to use and excellent at keeping rainwater out of cracks, this is one of the most popular roof sealants. It works well on aluminum, glass, coated steel, steel, wood, fiberglass, and vinyl, among other materials.
EternaBond Tape Micro Sealant
EternaBond tape is an RV roof sealant designed to work in extreme temperatures. It comes in various types, such as regular, waterproof, and anti-UV.
The common type is recommended for everyday use; however, the waterproof version is great when the RV needs to stay dry during adverse weather conditions. Anti-UV is specifically designed for preventing UV damage from sunlight.
Dicor Rubber Roof Acrylic Coating
Dicor Rubber Roof Acrylic coating is an efficient alternative to the Eternabond tape micro sealant. It offers long-lasting performance. Though this roof sealing system has good features, it’s not ideal since it leaves a sticky residue behind.
Moreover, the film will not stick perfectly to plastic panels. If you have a wooden frame, then this would be less appropriate.
Pro Guard Liquid Roof
Pro Guard Liquid roof is another popular way to protect your RV against rain. Made of urethane-based polymer, the liquid will keep your RV dry even when it rains heavily.
Unlike the Eterna Bond or Dicor systems, this material is more flexible than rigid. As a result, some homeowners consider it easier to apply than those mentioned above.
Liquid Rubber RV Roof Coating
Liquid rubber RV roof coating is easy to install onto most RVs. It adheres very well to most surfaces due to its unique formula. It provides excellent protection and is durable enough to stand harsh outdoor conditions. However, this product requires frequent cleaning after application.
For most RVs, roof maintenance shouldn’t be too frequent. However, there are times when you must complete the task right away. Below is a list of them.
- If your RV will be vacationing in the cold climate: During colder months, ice buildup can cause severe issues with your water drainage. In addition, a frozen roof can lead to leaks and possible damage to your vehicle’s interior.
- When your RV has been driven Into deep mud: Muddy terrain can make accessing your roof difficult. When this happens, the mud can collect in between the seams. This creates a large opening through which rain can seep into your home. To prevent this, you must clean your RV roof of any dirt before winter sets in.
- If your RV Is going on a long drive: RVs usually endure long trips better if they’re kept clean. That’s why we recommend doing monthly checkups to ensure that everything’s working correctly. There’s no reason to let dirt build up on your roof. Maintaining your roof with RV roof paint helps to keep it looking new. With every summer vacation, families enjoy their time together outdoors. It’s essential to maintain them after these activities.
In Conclusion
The roof of your RV plays a huge role in the overall look and feel of your vehicle. This emphasizes the importance of good maintenance. Maintaining the integrity of your roof can save you money in the future.
We hope you are now ready to start maintaining your RV’s roof properly! These suggestions will assist you in accomplishing your goal. Good luck!