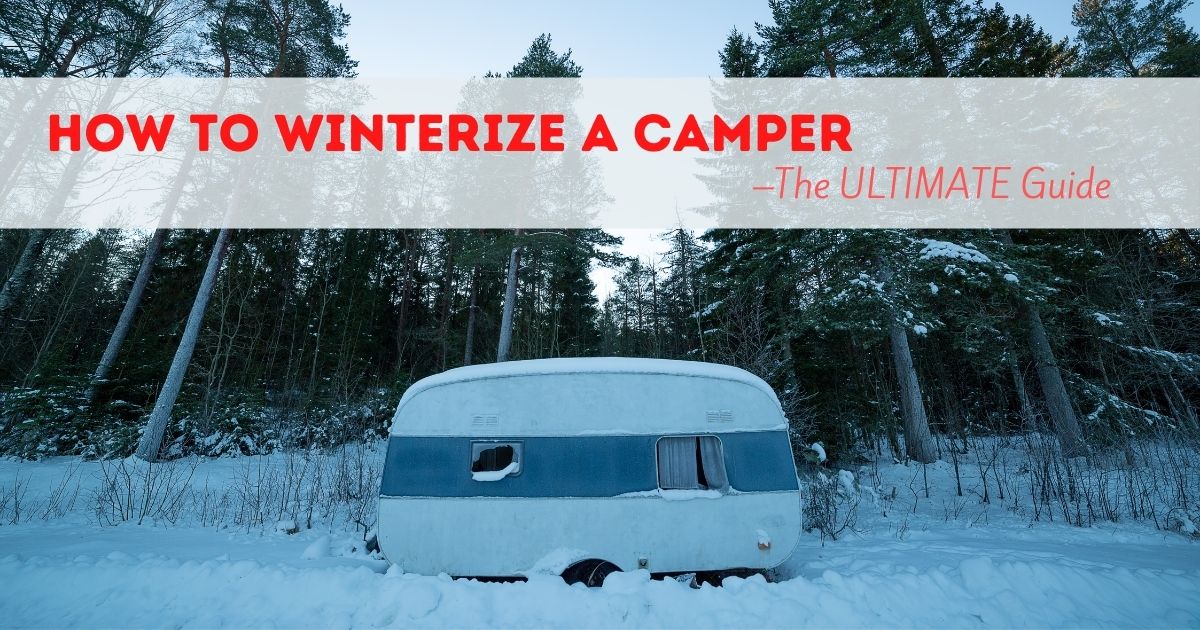
Are You Daydreaming About Winterizing Your Camper?
How to winterize a camper. Whether you are simply packing up and storing your camper for the winter months or are interested in doing some winter camping trips, you will most likely be looking to winterize your camper van.
Time to stop daydreaming and make it a reality with our ultimate guide on how to winterize a camper.
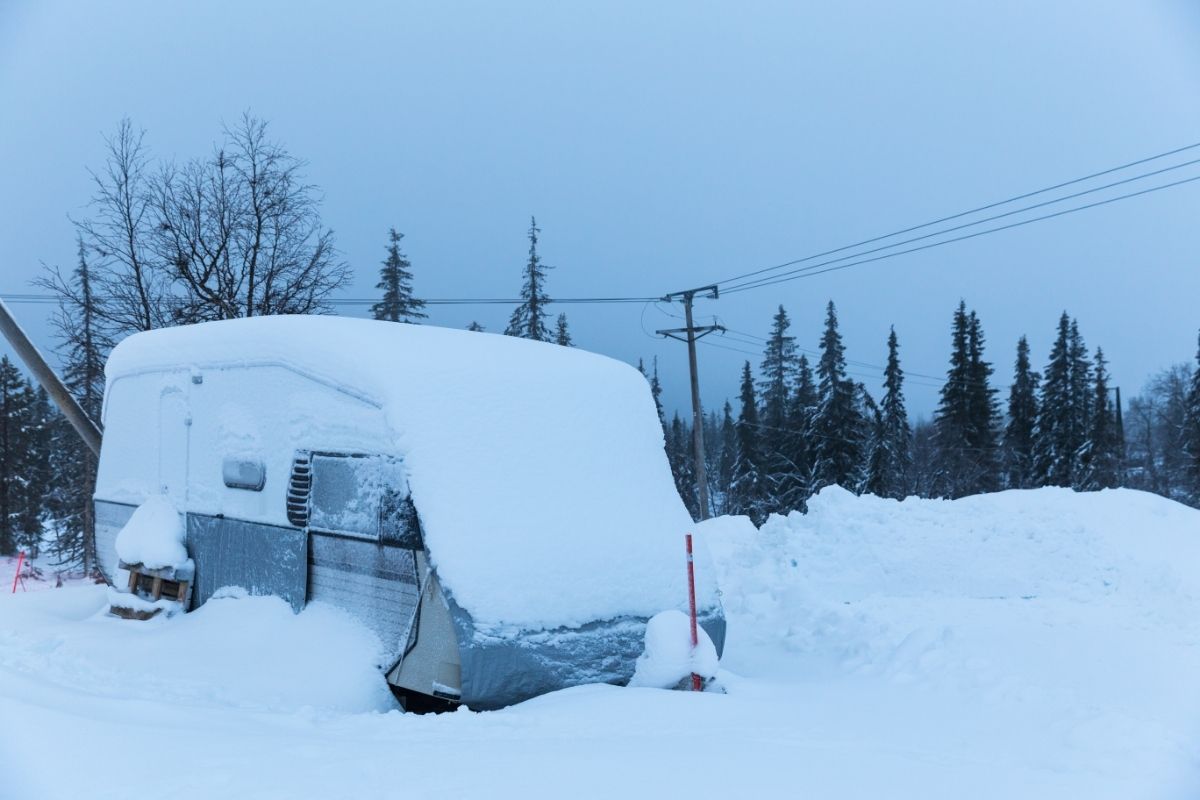
Winterizing your camper means getting it ready for the winter season and below-freezing temperatures. Essentially the main reason why winterizing your camper is so essential is to protect the pipes and water lines from freezing and/or bursting in the cold weather.
Any water in the water lines or tanks can cause cracks in the pipes when it freezes, leading to costly repairs. So chances are, if you live in a cold winter climate, you may end up saving your camper through preventative winter preparations.
When Should I Winterize my RV?
When should you consider winterizing your RV? You should be winterizing your camper for one of two reasons; cold weather winter camping or storing your trailer for the winter months.
Even if using your camper throughout winter, you should winterize it:
- If the temperature is consistently below 20F
- You can’t insulate the underbelly of your RV
- You don’t have heated tanks, or
- If you are boondocking and can only run the furnace at certain times
If you are storing your camper and live in a cold climate, you should winterize to prevent damage to your internal plumbing over the winter months. If you are planning to winterize, do so after your last camping trip for the autumn and before the temperature drops to 20F to ensure you can store it away before any damage is caused to the RV.
Our Step by Step Guide to Winterize Your RV
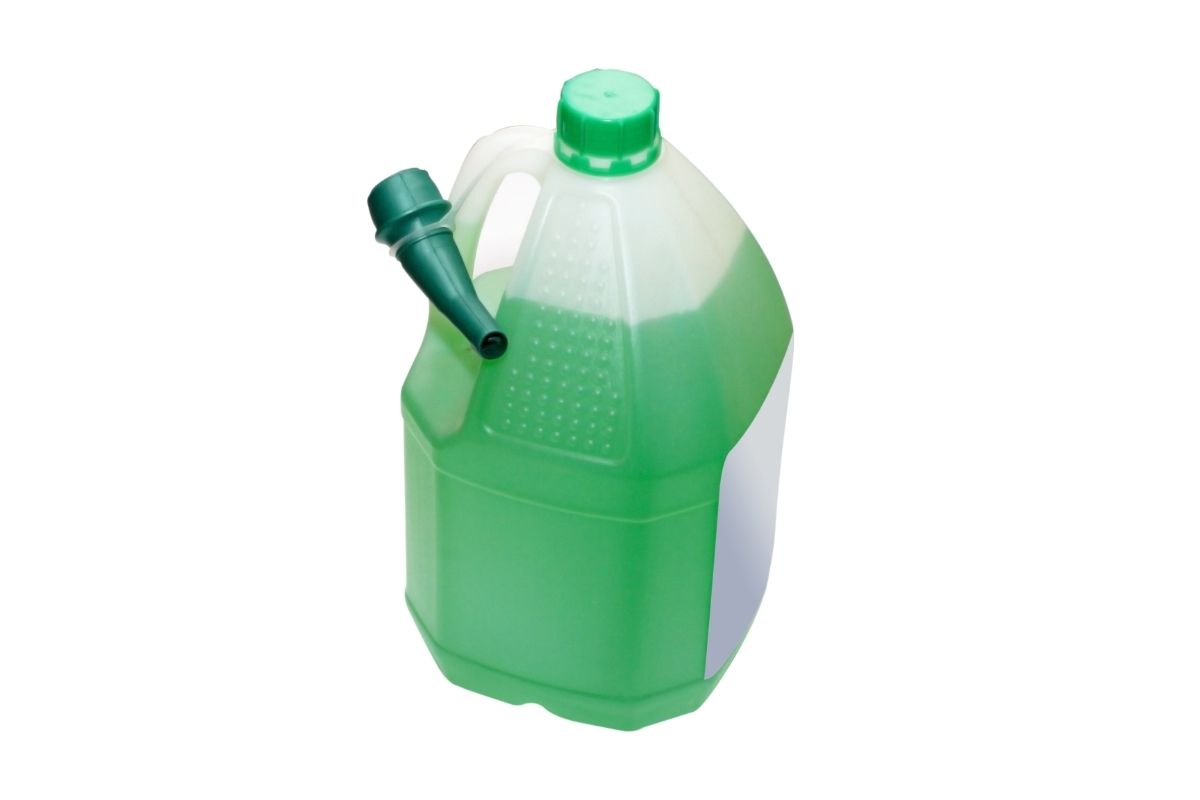
There are two methods to winterizing your RV, the first is to fill the lines with antifreeze, and the other being to blow out the lines with compressed air. Generally, the antifreeze method of winterizing your RV will protect the pipes better. However, it may not be necessary if you live in a warmer climate or plan to store your RV indoors for the winter months.
Antifreeze
Step 1: Drain the entire system
This step is essential when storing your RV at any time of the year, especially over the winter months. Drain all the tanks in your camper, turn off the water pump, and disconnect and drain the freshwater hose.
The gray and black holding tanks must be emptied and flushed as well, do this while connected to a sewer dump and then ensure they are clean and ready for storage. If your RV does not have a black tank flush feature, you will need to use a flush nozzle or tank cleaning wand to flush inside the tank.
At the bottom of your freshwater tank, you must open the low point drain and allow the water to drain entirely from that tank, allow to drip until finished. You do not need to put antifreeze in the freshwater tank; simply close the valve, and it is ready for storage.
Before moving on to step two, you must turn off the water heater and allow several hours to pass before trying to drain the water heater.
Step 2: Drain the hot water heater
Now that you have allowed your hot water inside the heater to cool down, you can begin draining the hot water heater. Ensure you depressurize the system before starting the draining process by disconnecting from all water sources, turning off the water pump, and opening a hot water tap before draining it.
Once you open the pressure relief valve, you will ensure that the system isn’t under any pressure when draining it. Next, remove the drain plug and stand back, as the water heater will drain up to four gallons of water very quickly. You can then clean your water heater with a tank-rinsing wand to ensure it is cleaned before winter.
Once the water has fully drained, wrap the drain plug with new plumbers tape and reinstall it. If you have inline water filters for drinking water, this is the time to remove them. Turn any valves to bypass the lines before continuing.
Step 3: Drain Interior lines
To drain the interior lines, you must leave the gray tank dump valves open while turning on all faucets (hot and cold) in the RV. Then, find any low-point water drains and open them as well.
Using the water pump, force out any remaining water from the lines by turning it on for a few seconds until the system runs dry. Do not leave the water pump on too long, or you can cause damage to it.
Step 4: Bypass water heater
You should consult your manual to check if your RV has a bypass kit installed already. If your RV already has a system installed, a diagram in the manual with instructions will be shown. It is imperative to bypass the water heater to ensure that the tank does not get filled with antifreeze.
Step 5: Bypass freshwater tank
Next, you will use the water pump to run the antifreeze through your water lines. Some RVs will already have a winterization valve on the freshwater system. If not, you will have to use a water pump converter kit. You want to fill the water lines with antifreeze but not fill the freshwater tank.
If your RV has a winterization valve, turn the valves to their correct positions to bypass the freshwater tank and place the tube directly into the antifreeze bottle (follow your RVs instruction manual to ensure you do this correctly).
For those who do not have a winterization valve installed, you can use a water pump converter kit or disconnect the freshwater tank from the water pump and replace it with tubing that will run directly from the water pump inlet into the antifreeze bottle.
Step 6: Run antifreeze through water lines
Make sure your water pump inlet tube is placed in the bottle of antifreeze, and then turn the water pump on. This will pressurize the system, and you will see the antifreeze being pumped into your lines.
Next, open all the faucets (hot and cold) one at a time to ensure the antifreeze runs through the entire system. Make sure you keep them open until you see pink antifreeze running through them, then shut off completely.
You will run antifreeze through all the lines in your RV from showers, drinking taps, toilet flush, and kitchen sprayer. When the process is finished, turn off the water pump.
Step 7: Pour antifreeze down drains
The hard part is done; now, you just need to pour a cup of antifreeze down each drain to prevent the P-traps from freezing. For the toilet bowl, use two cups of antifreeze and flush them into the holding tank. This will prevent any residual water from freezing, but pour another cup into the bowl and leave to soak and protect the valve.
Step 8: Ready for winter camping or storage!
This method is straightforward, fast, and protects your RV from harsh winter temperatures. So whether you will be camping over the winter season or storing the RV outside, your RV is entirely ready for the cold.
Blow Out
Step 1 & 2: Follow the first two steps from the antifreeze method
You can follow the first two steps from the antifreeze method to drain the water heater and system; however, the main difference will be that you do not replace the drain plug or anode rod in the water heater at the end.
Step 3: Blow out the hot water lines
Ensure the drain plug is open and close the pressure relief valve of the hot water heater, then connect the blowout plug of your air compressor to the freshwater inlet. You must have a pressure regulator or an adjustable air compressor to ensure you do not over-pressurize the water lines.
Once appropriately connected, you can turn on the air compressor and pump the compressed air through all of the lines. Water will flow from the drain plug as all the water is drained from the hot water lines. Once all the water has been drained, you can replace the drain plug or anode rod and shut off the water heater, ready for storage.
Step 4: Bypass water heater and any filters
Your RV will most likely already have a bypass installed, and you can find this out by reading your manual, which should have an instructional diagram and its location. Remove and bypass the inline water filters too.
Step 5: Blow out all the water lines
Make sure you turn off the water pump before performing this step. Next, open all the low point drains and turn every tap to the RV to the “warm” setting. Once the water is completely drained from the low point drains, shut the faucets and close the drains.
One at a time, you should open each faucet on the hot and cold settings and blow compressed air through the system until you can only see air coming from the tap (30 seconds of compressed air should do the trick).
When draining the water pump, you should turn on the outdoor shower nozzle and the water pump. It doesn’t need to be run for too long as the freshwater system is dry, then use compressed air to blow the remaining water out of the line.
Step 6: Pour antifreeze down the drains
This is the last and easiest step of the process; simply pour a cup of antifreeze down each drain to protect your P-Traps from freezing. Next, you will need two cups of antifreeze for the toilet bowl, then flush it into the holding tank (this will stop any residual water from freezing). Next, pour another cup into the bowl and leave it there.
Ensure the freshwater tank’s low point drain is closed, close all the gray valves, and ensure your sewer hose is drained and stored. You are now ready to store your RV for the winter!
Which Tools Do I Need to Winterize my Camper?
Antifreeze method
- Antifreeze liquid – two gallons should cover an average-sized large RV, but depending on the size of your RV, you may need more or less.
- Water heater bypass kit (if your RV does not already have one).
- Black tank flush wand/nozzle (if your RV does not already have one).
- Water pump converter kit and/or tubing to connect the inlet to the water pump.
Blow-out method
- Tankless air compressor (preferably one with a built-in air filter to ensure no debris is blown into the freshwater system).
- Adjustable water pressure regulator to attach the inline to the blow-out plug (to protect your system from becoming overpressurized).
- A blowout plug to connect the air compressor to the freshwater system.
- Antifreeze liquid.
The Ultimate Travel Trailer Winterizing Checklist
You can still use your camper during the winter after it has been winterized. However, you will not be able to use any water features.
- Drain and winterize all plumbing.
- Insulate pipes.
- Winterize the exterior of your camper: wash and wax exterior, check for holes/cracks in the surface and seal them with sealant, clean RV awning with mildew cleaner, and inspect the roof for signs of aging (coat with rubber if necessary).
- You can use antifreeze in the freshwater tank to allow flushable toilets or purchase a portable bathroom alternative.
- Use tank heaters to keep the interior warm.
- Winterize and extra insulation the interior to keep warm.
- Insulate windows with plastic and extra warm curtain materials.
- Purchase good winter chains for tires.
The Importance of Winterizing Your Camper
Winterizing your vehicle for the cold weather is important for any campers who live in or plan to travel to locations with freezing temperatures. The process of winterizing your trailer is essentially draining all the liquids from the internal plumbing and making the piping resistant to freezing temperatures.
Frozen pipes can result from any water left in the pipes, and when water freezes, it will expand, leading to burst piping and expensive repairs. RVs are especially susceptible to frozen pipes and water lines because they are not able to be insulated as well as a house, meaning any residual water in the piping will freeze a lot easier and cause cracks in the pipes and connection points.
De-Winterizing Your Camper Again After Winter
Remove winter covers
Removal of all winter covers on the interior and exterior that you placed at the beginning of winter.
Replace batteries
If you removed the batteries, now is the time to ensure they are fully charged and put them back into the RV and/or replace them if necessary.
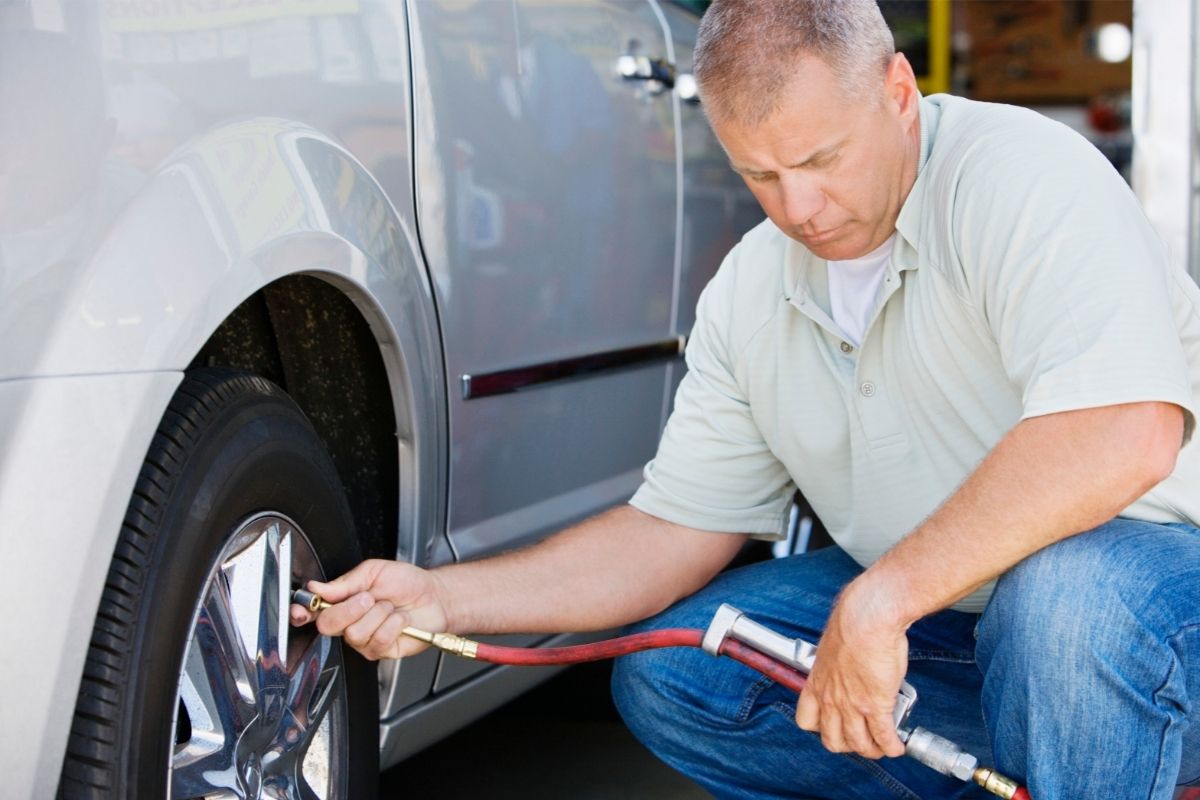
Check the tires
Check the pressure of the tires and fill them with air if needed.
Inspect the interior & exterior of your camper
Hose down the exterior and inspect for any damage or cracks in the exterior. If you have a towable, check for any rust or damage and ensure it is fully operational before hooking up to your truck for the first time. Also, check the interior for cracks and damage to the walls, roofing, windows, and flooring.
Inspect condition of the sealant
Check the condition of the sealant, especially around the windows that could cause leaks. If there are any cracks, you can seal them up now.
Check for gas leaks
Do this before you light an open flame or use any device that could cause ignition. Next, open the propane tank and spray some soapy water at each propane fitting. If you have a propane leak, you will see bubbles foaming in the soap, and you will need to fix it as soon as possible.
Set up plumbing
You will need access to fresh water to complete this step and flush out any antifreeze by flushing the entire plumbing system. Then, all you need to do is fill the freshwater tank with water, turn the water pump on and one at a time open every single faucet in the RV.
You should allow the water to run for about a minute and check that the smell and color of the antifreeze is gone completely and the water runs clear. Then, when running the toilet and shower, remember to open the gray water tank. Next, turn off the water pump and repeat the process to ensure every drop of antifreeze is cleared from the system.
Sterilize freshwater tank and black/gray water tanks
You must use the correct chemicals when cleaning your water tanks. Consult your RV’s user manual before using any chemicals. Turn on the pump and run every faucet, turn it off again, then add the cleaning chemicals and allow it to sit for a few hours.
When you come back, drain the freshwater tanks and refill them with clean water. You will then need to flush the chemicals out by running clean water through every faucet. Ensure you do this thoroughly and all chemicals are fully flushed out. When doing this process with the black water tank, make sure you release the valve to a sewer dump area.
Set up water heater
Make sure the drain plug is closed and reset all valves on your water heater to start. You can then run the water pump while a hot water faucet is opened until the water heater tank is full, then close all taps and ensure the pump is shut off.
If the pump comes back, you will hear it, which can indicate a leak in the system. You can search for the leak on the plumbing, and if you see any leak spots, now is an excellent time to patch them up.
The Dos and Don’ts of Winterizing a Camper
Do:
- Close all faucets, low-point drains, and dump valves.
- Turn off the water heater for the winter (even if you have removed the propane tanks).
- Turn off the water pump.
- Winterize the outdoor shower.
Don’t:
- Pour antifreeze into the freshwater tank. This is a big no-no as you do not want to be drinking antifreeze!
- Do not forget to open the pressure relief valve while draining the water heater. This will result in the heater not draining completely.
- Do not forget about the other appliances that use water, such as a dishwasher or washing machine. However, each device will have different instructions on winterizing them. Make sure you consult the instruction leaflet before attempting yourself.
Camping Your Way!
Whether you are hibernating over the winter or seeking frosty winter adventures, you will want to winterize your camper to protect it from the harsh winter conditions. Whichever method you choose, antifreeze or blowout, take care and follow our guide to ensure you are thoroughly prepared for anything winter throws at you!